

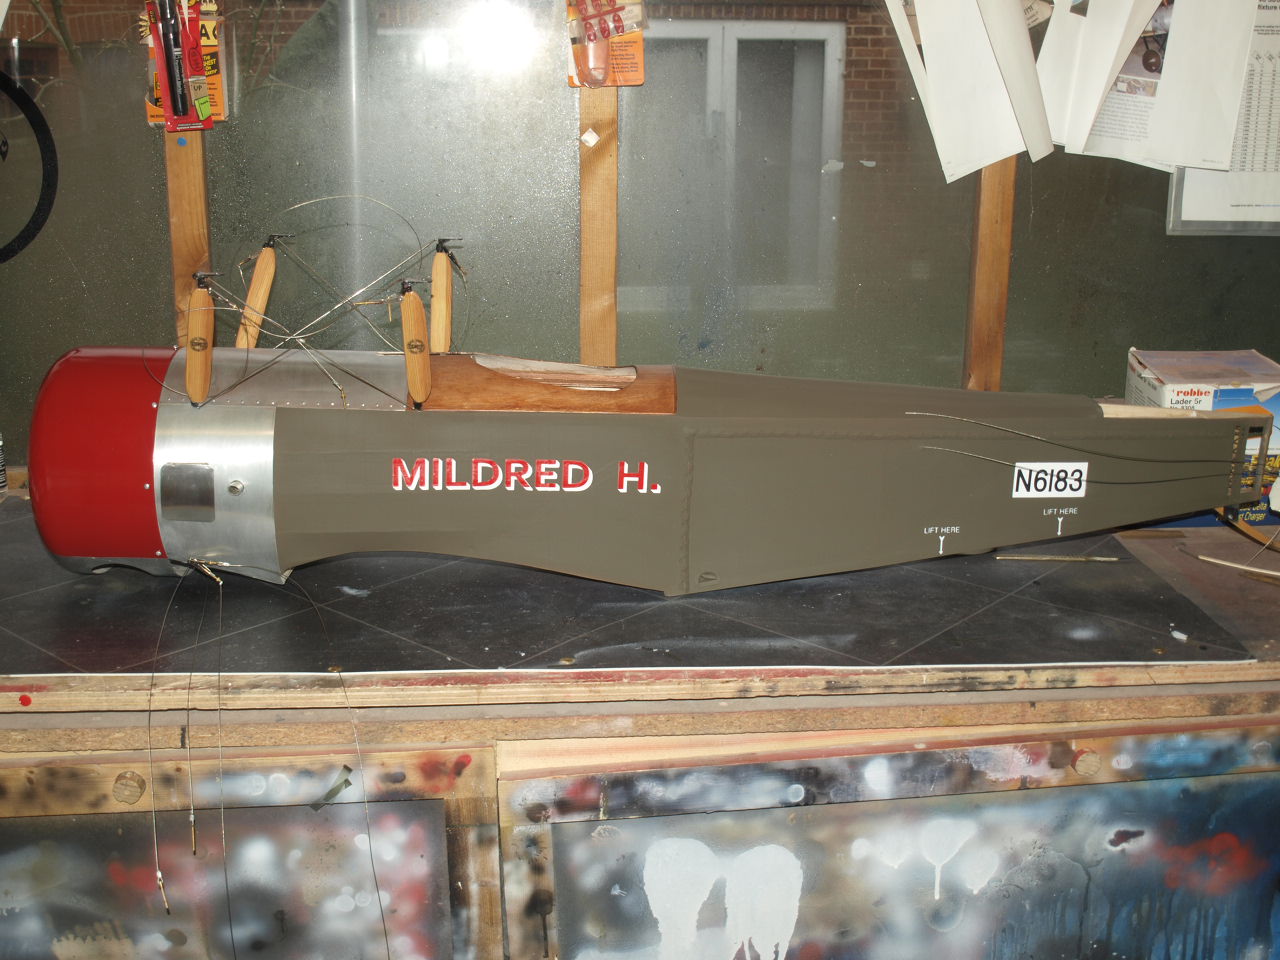
This page will follow the painting processes used to put on my chosen colour scheme.
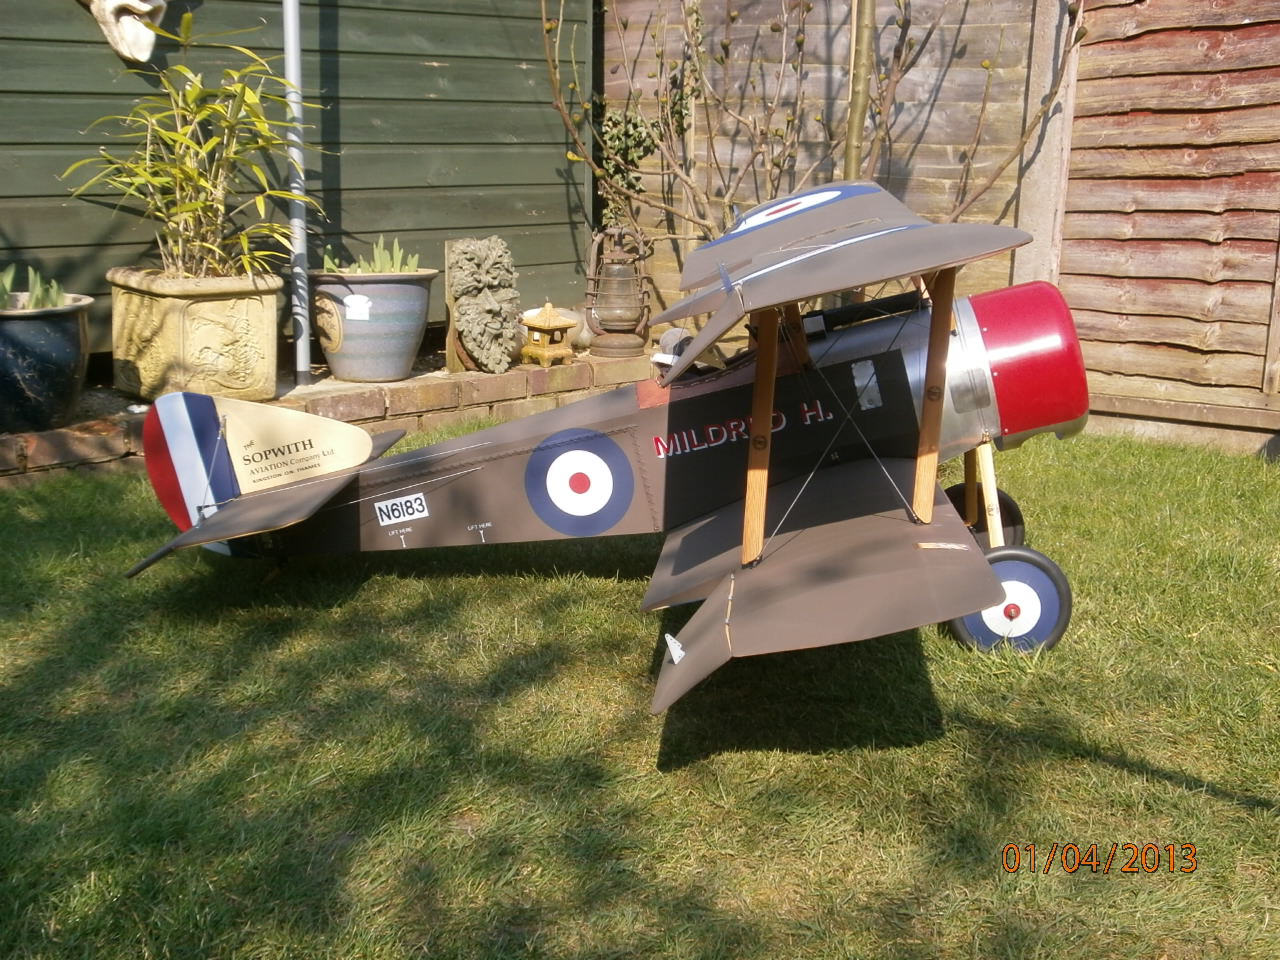
The scheme that I'm trying to replicate is that shown in the picture below.

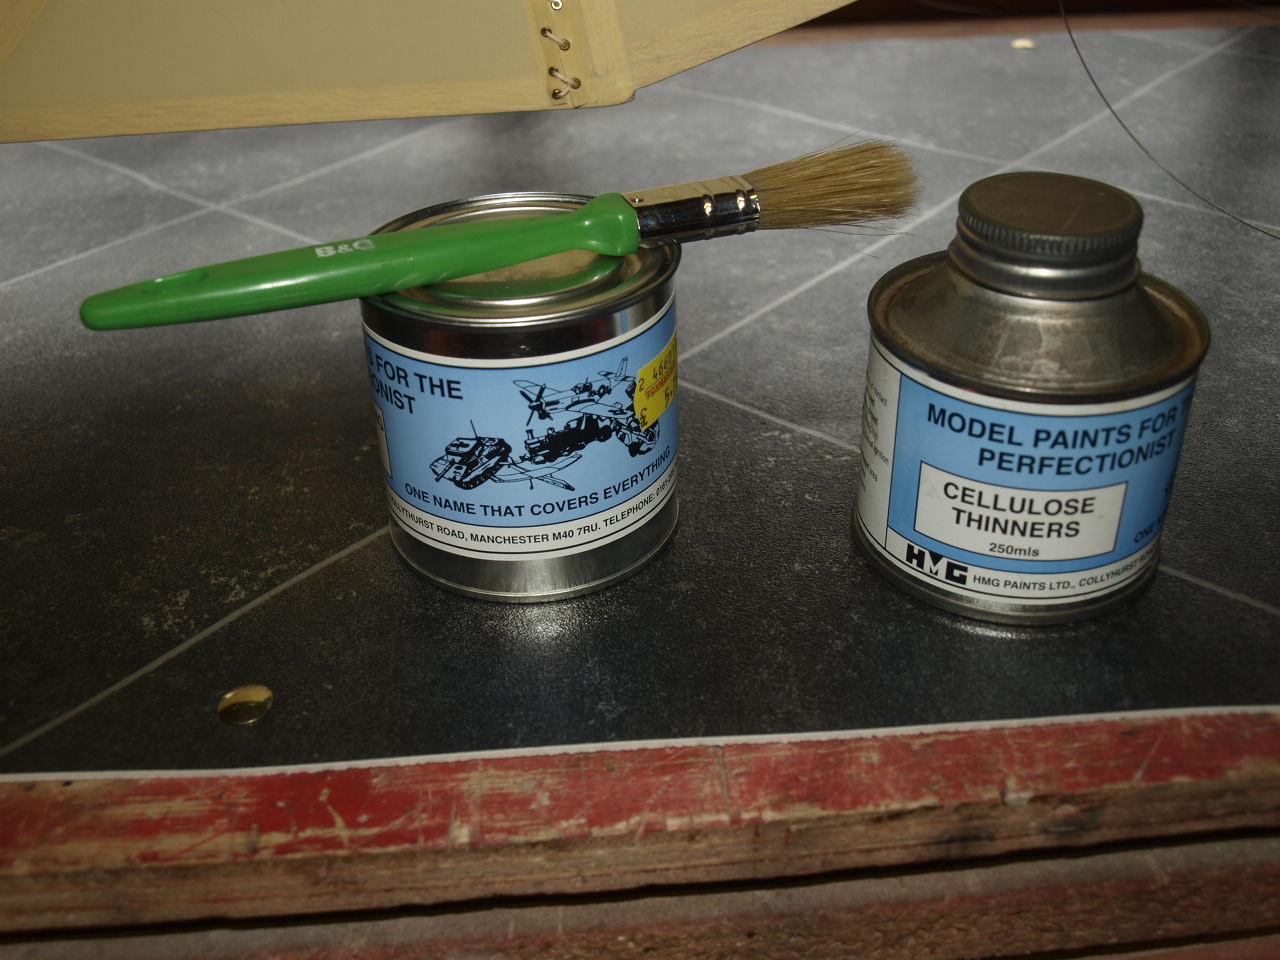
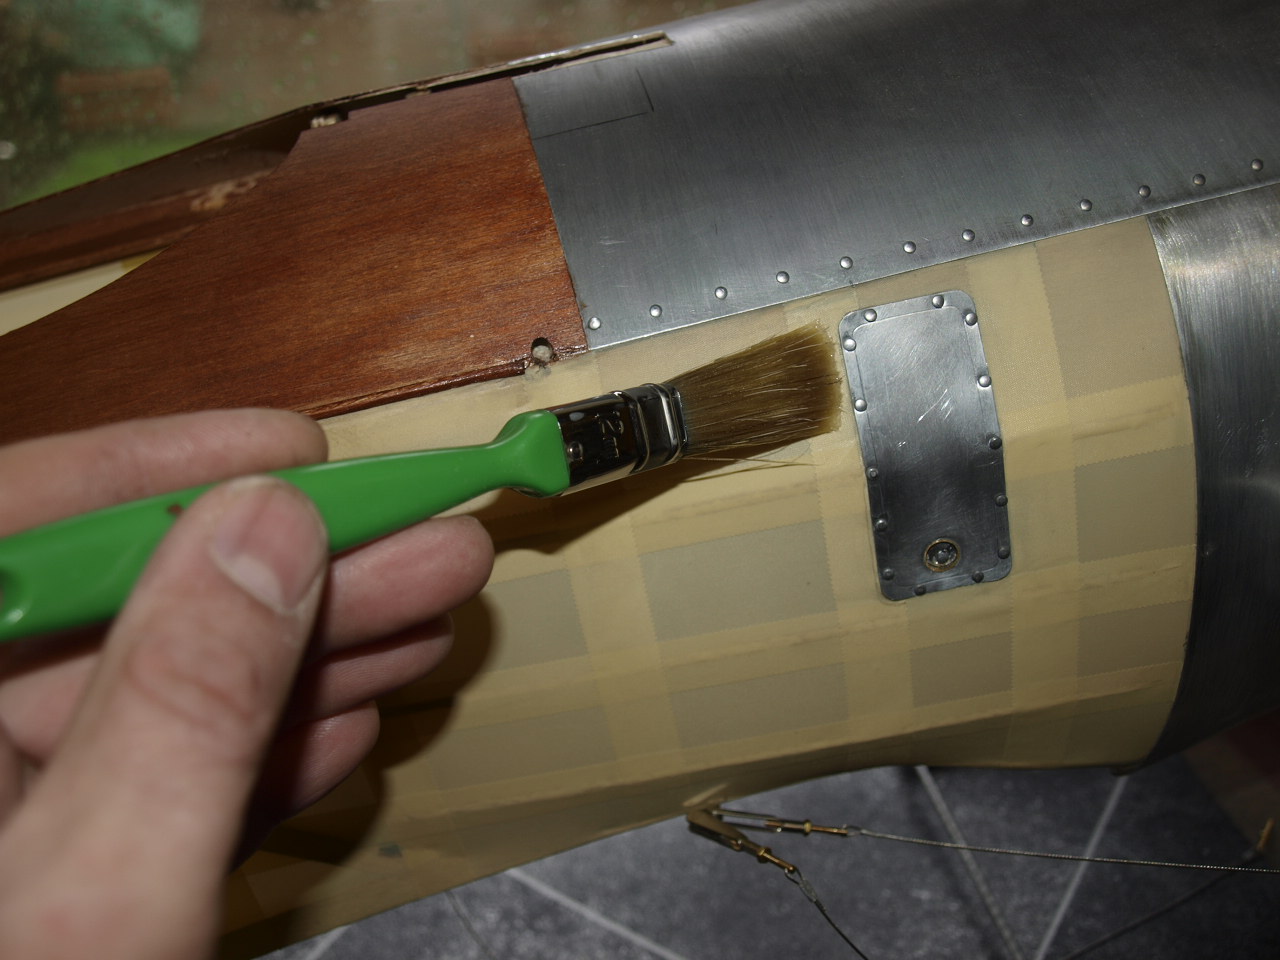
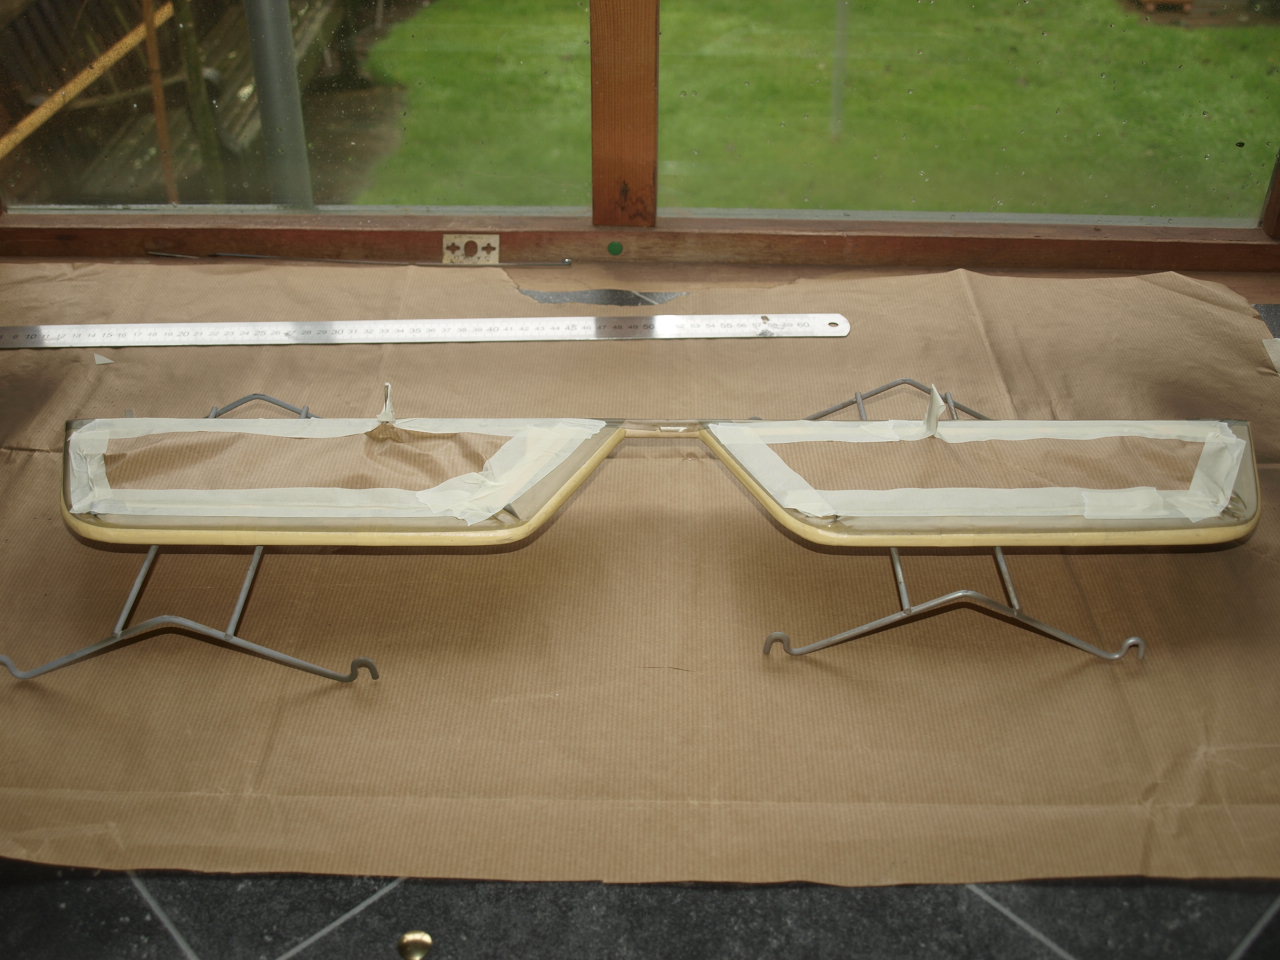
Before I start the colour scheme, I first of all give the entire models solatex covering a coat of clear shrinking dope. I have found that applying this before final painting stops the tex from sagging during hot weather.
Below is a short video showing this process being carried out.
The first two pictures below showing tins of dope and thinners and then the dope being applied to the fuselage. The dope is thinned with the thinners at a ratio of 50/50.lied Each coat is touch dry in about 5mins and can be recoated after about ten minutes. Once the second coat has been applied the model is left for approximately 12 hours before painting takes place.
 |
 |
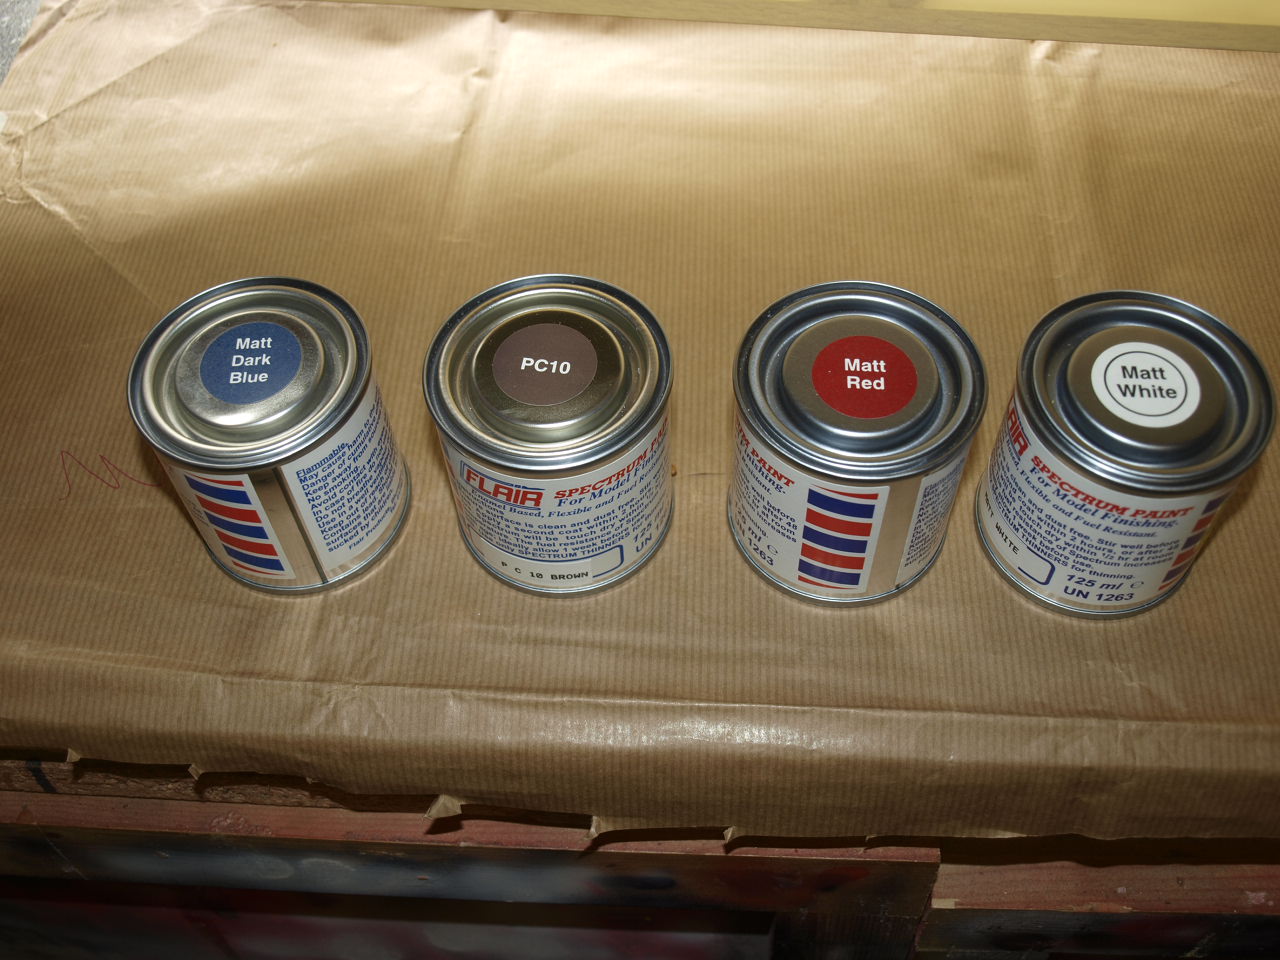
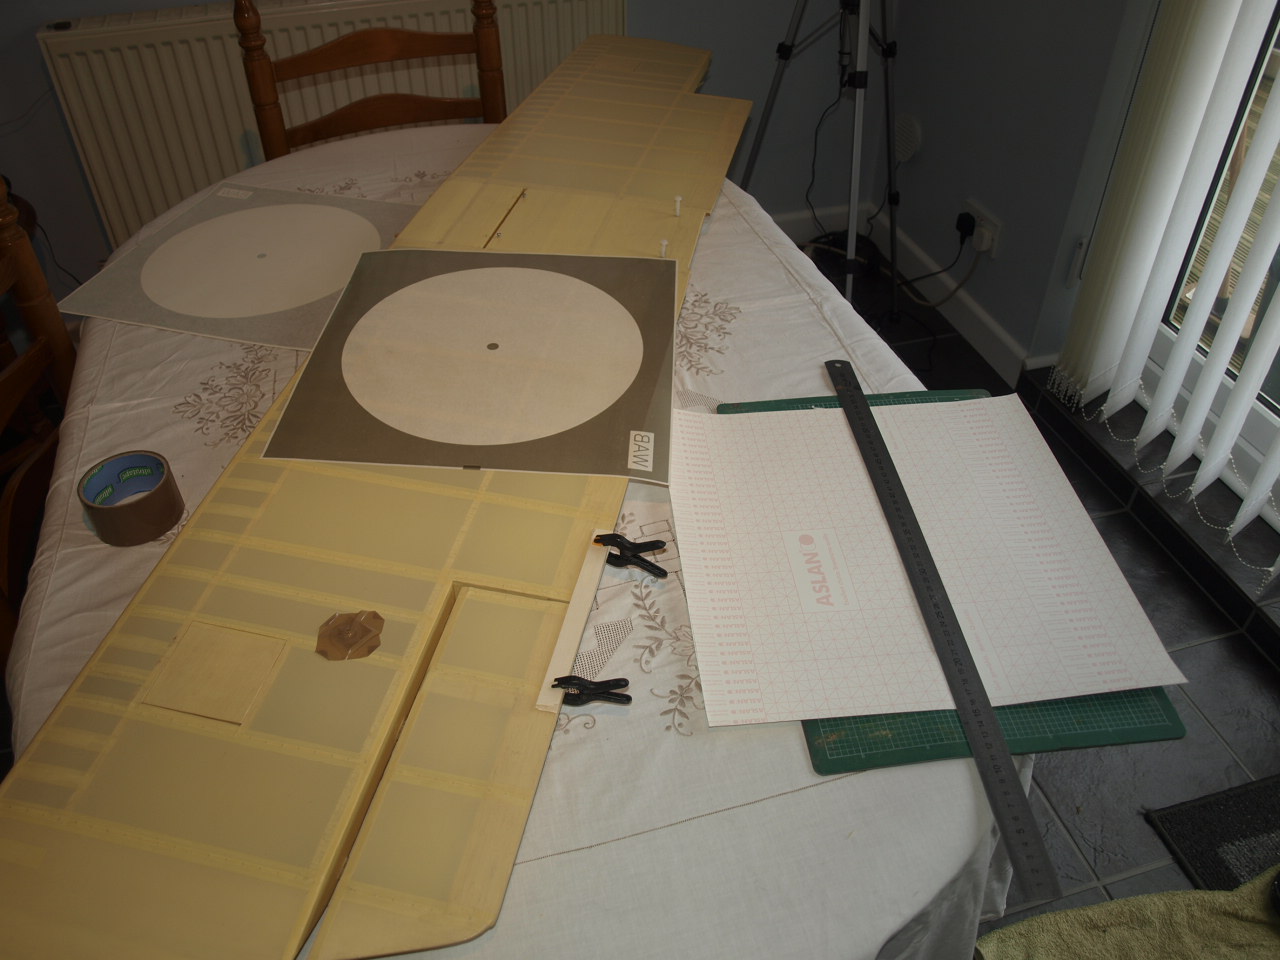
Paints
Below the colours being used for this project
| Matt Dark Blue |
| Matt PC10 |
| Matt Red |
| Matt White |
These are enamel based paint with fuel proffer. Once sprayed it takes about 12 to be fully dry and about a week before becoming fully fuel proofed
 |
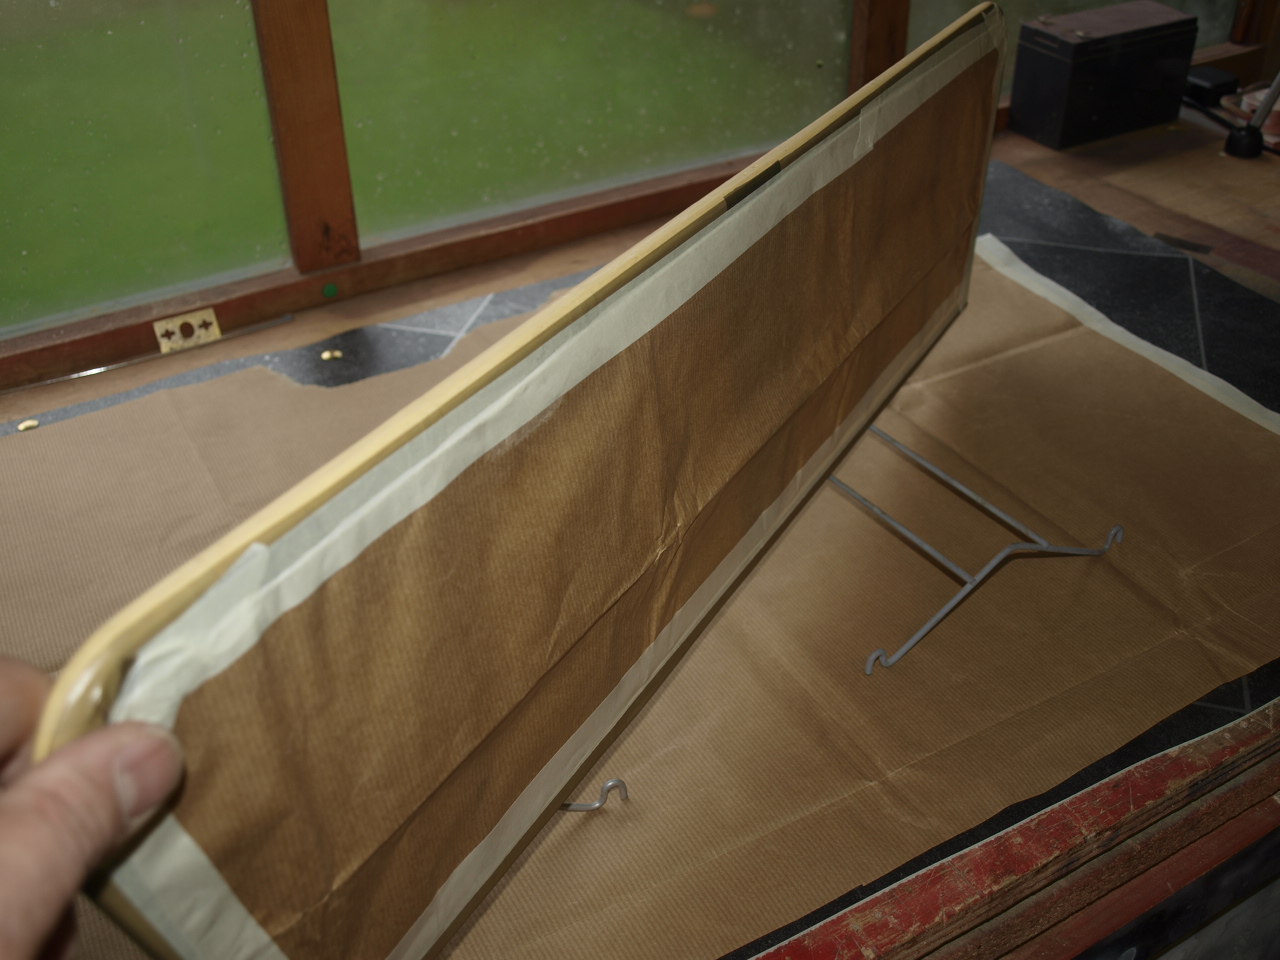
Masking up and spraying
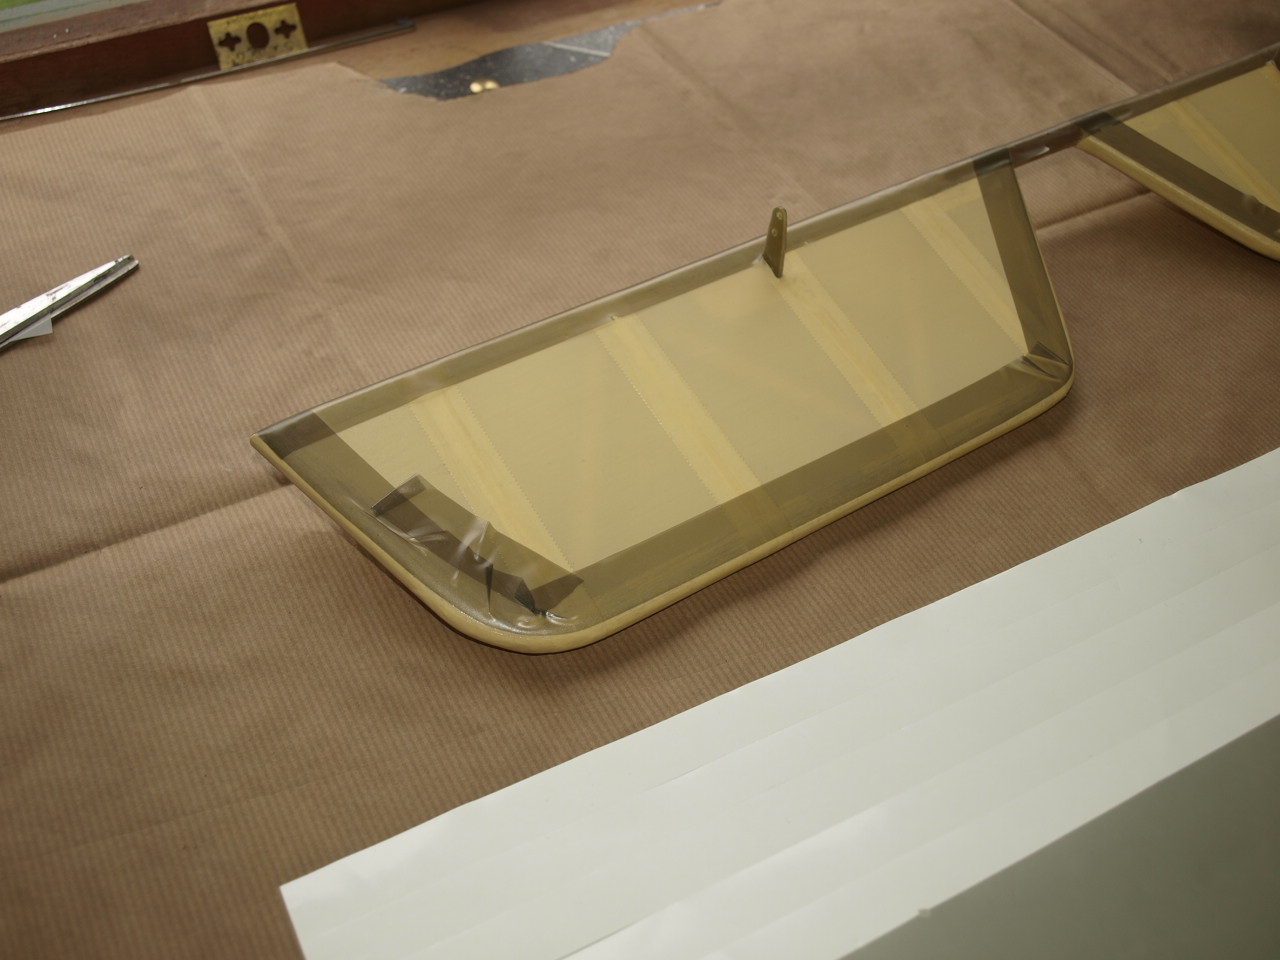
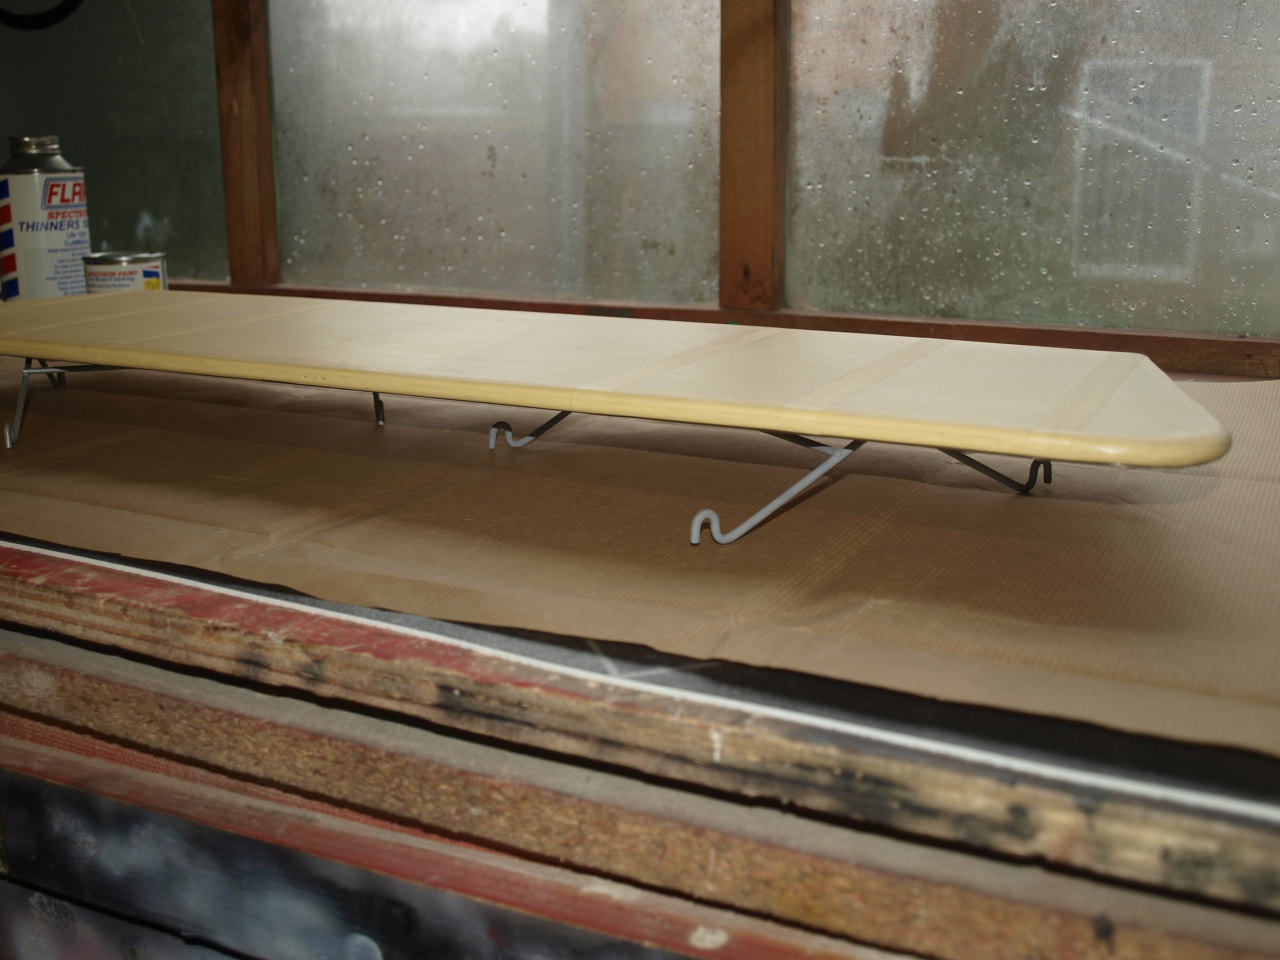
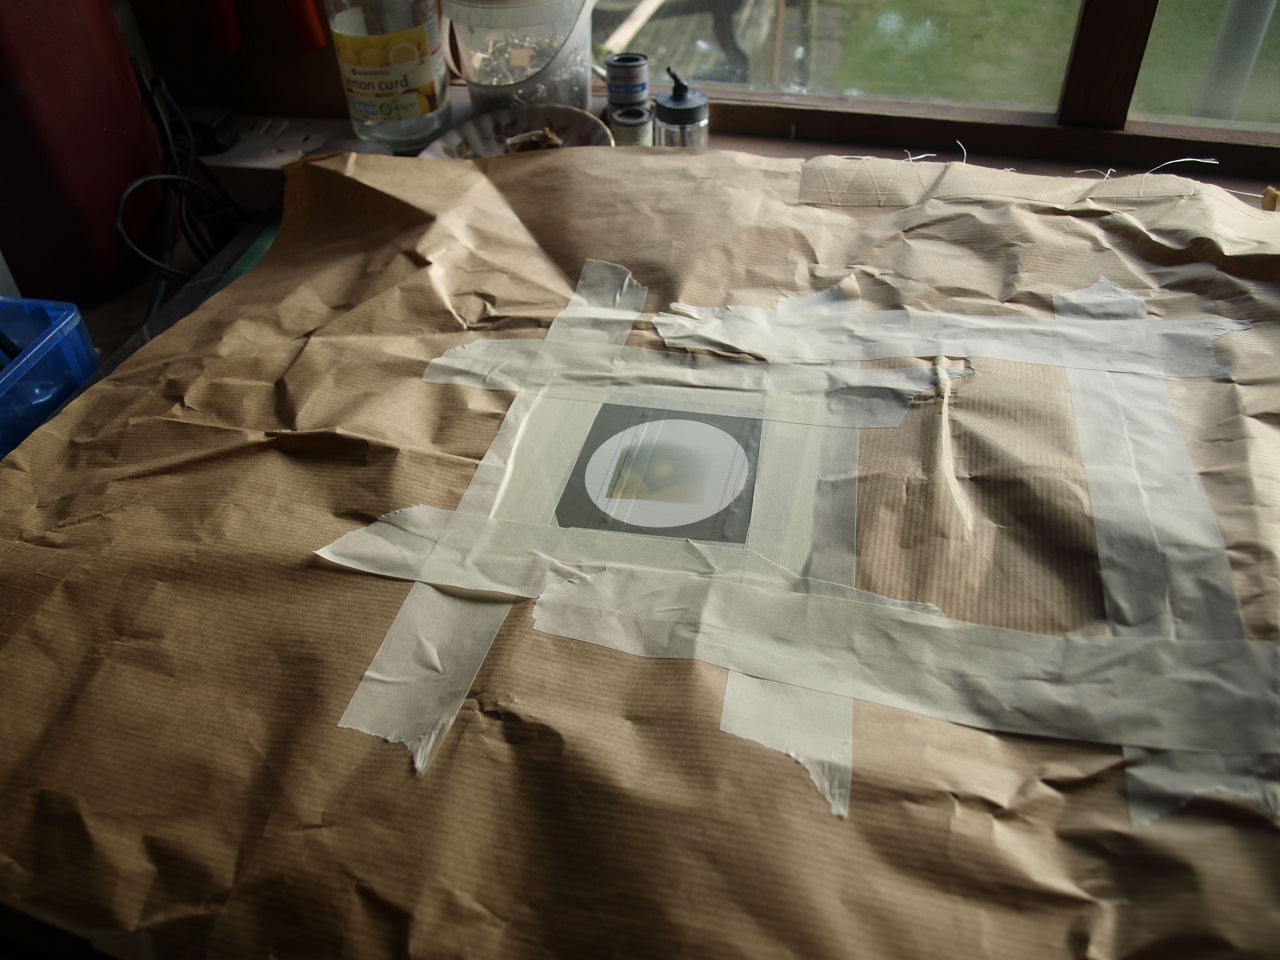
With the dope now fully cured I start masking up the sections to be sprayed. The picture first picture below shows masking film placed on the underside of the elevators as this area is going to remain the antique colour. The top is going to be sprayed PC10 and this follows around the leading edge hence the need to place masking tape as shown. In the next picture I have placed brown paper over the remaining tex and stuck to this to the film with standard masking tape. The reason for masking the whole of the surface is because when spraying you get a blow over and although this face will be facing down paint can still get onto this surface.
 |
 |
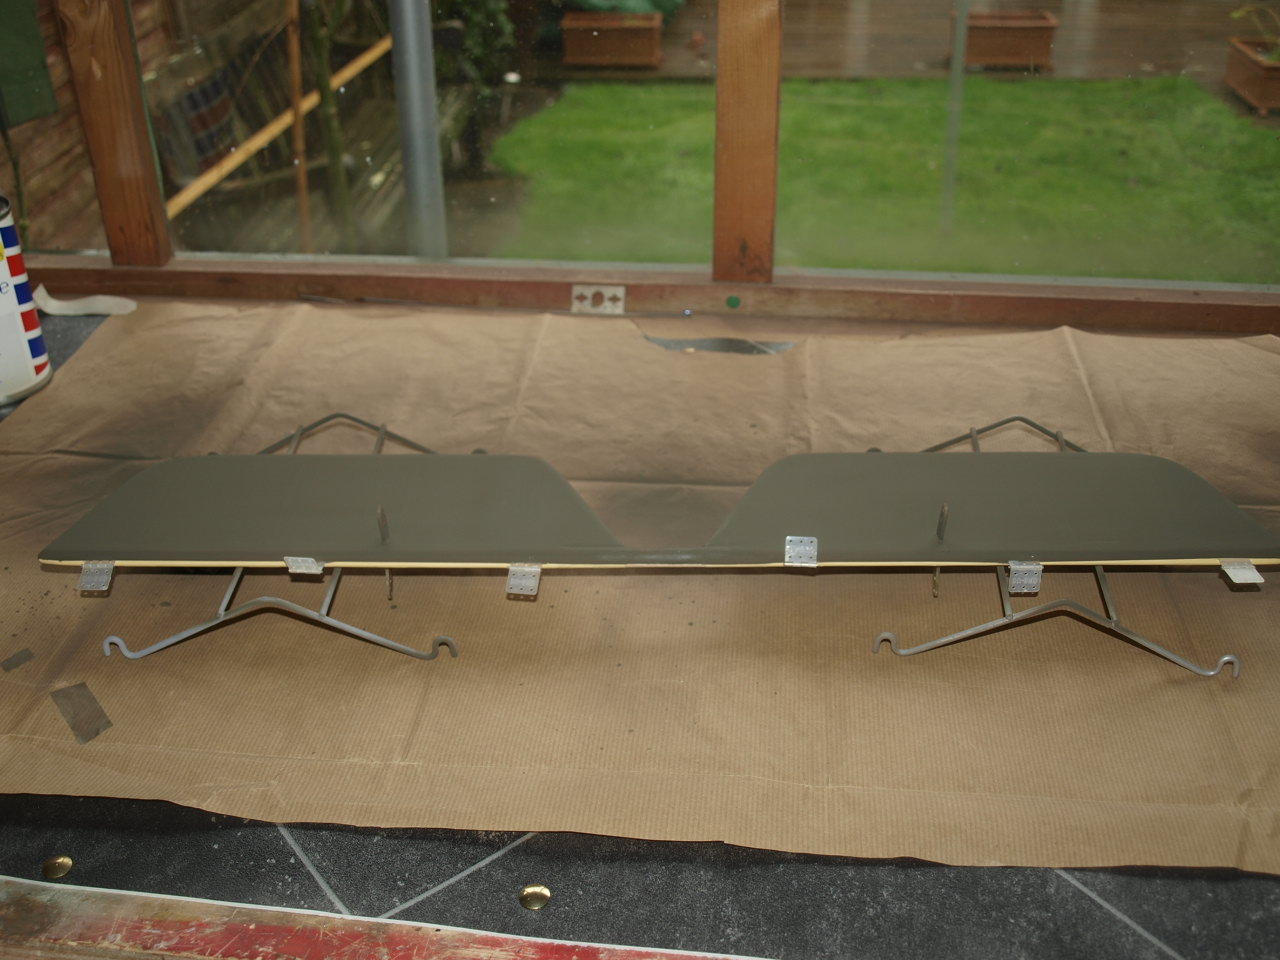
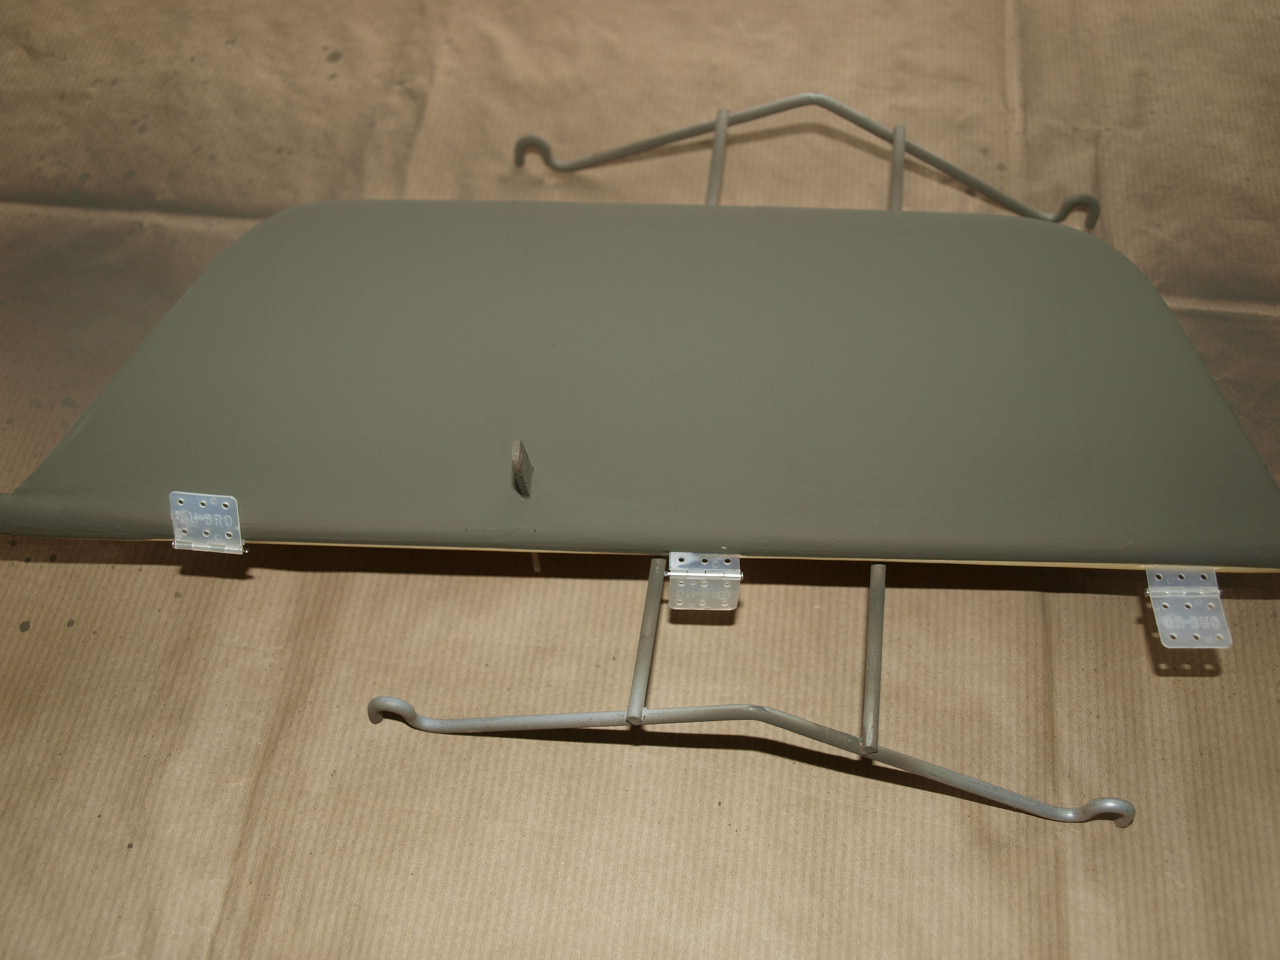
The following pictures show the now masked elevator and the top face of the elevator sprayed up with Flairs Spectrum PC10. This paint is sprayed through an airbrush and thinned to a ratio of 70 % paint and 30% Thinners
 |
 |
 |
Video of Spraying stabiliser and elevator
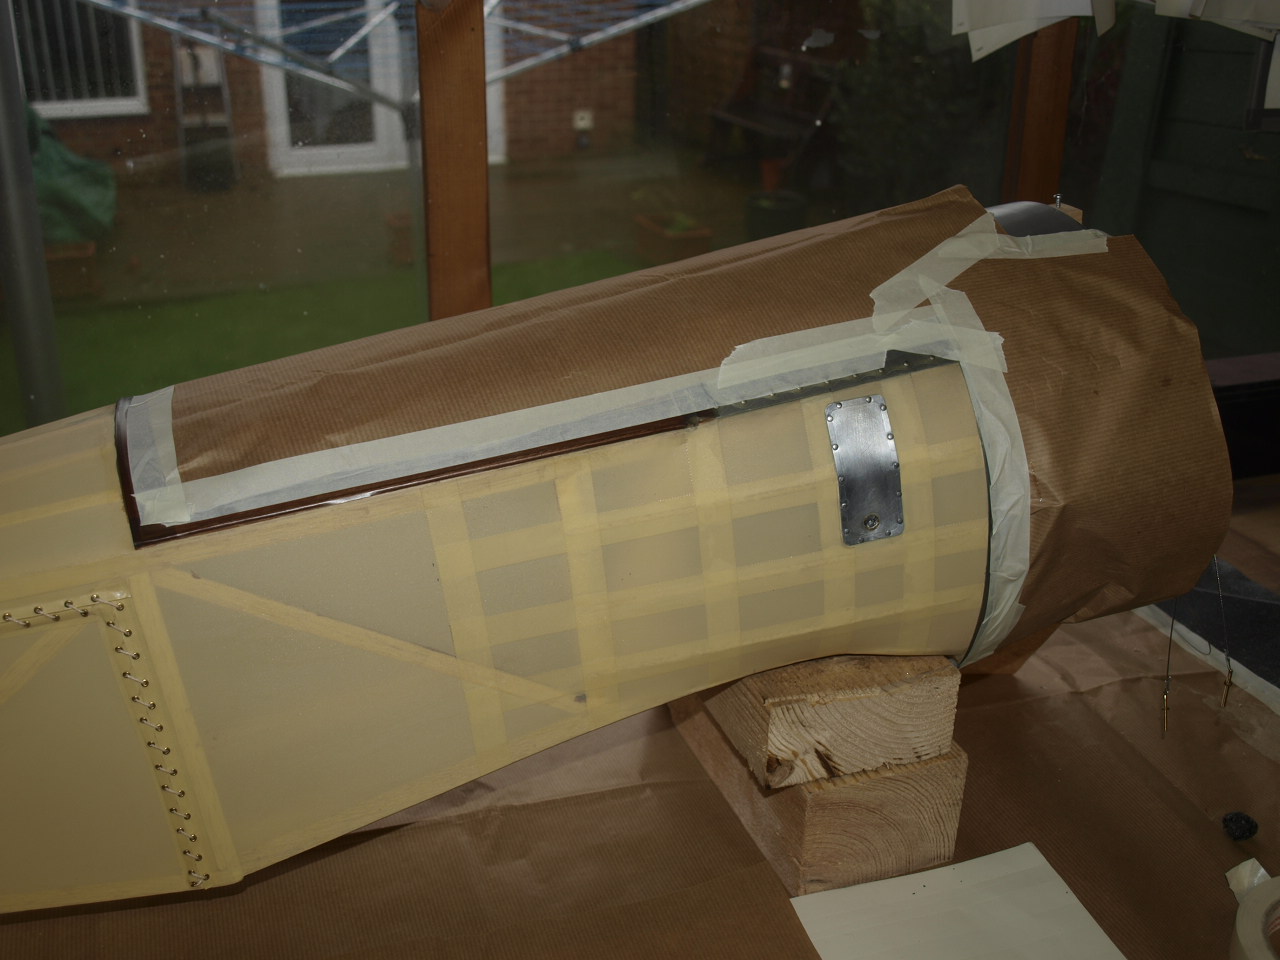
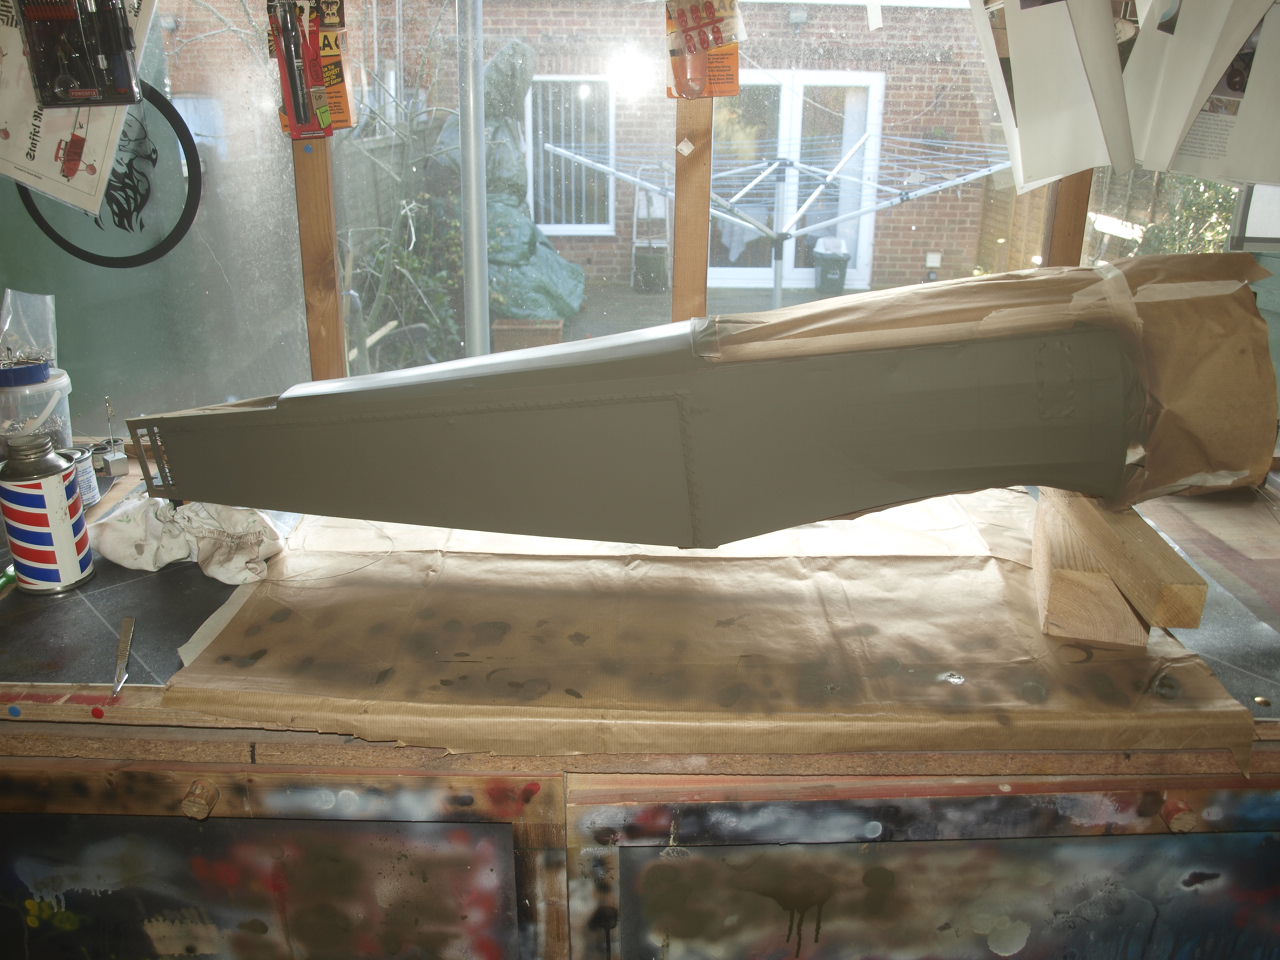
Below the stabiliser and the fuselage masked up ready for paint.
 |
 |
 |
 |
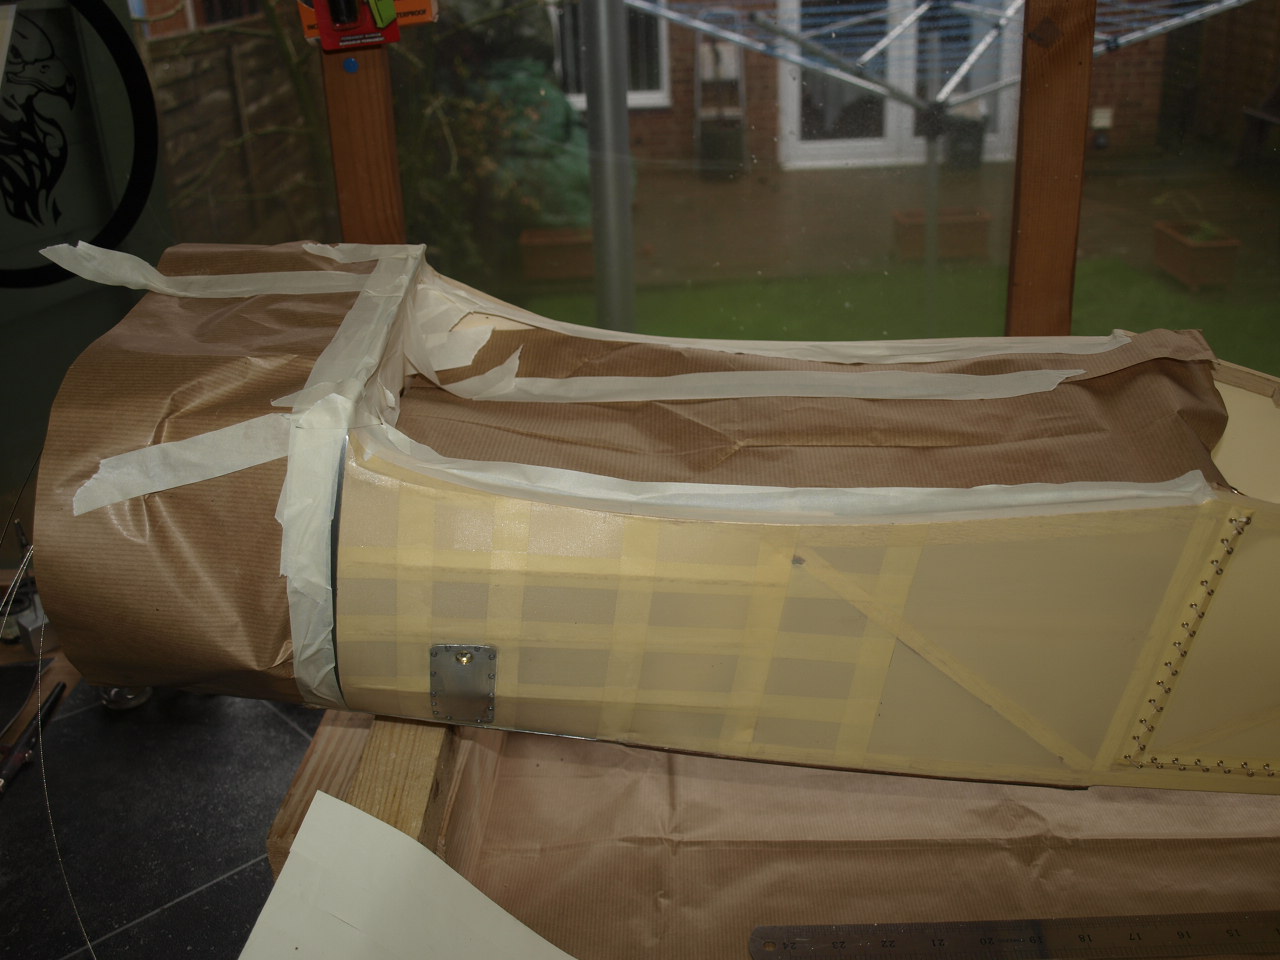 |
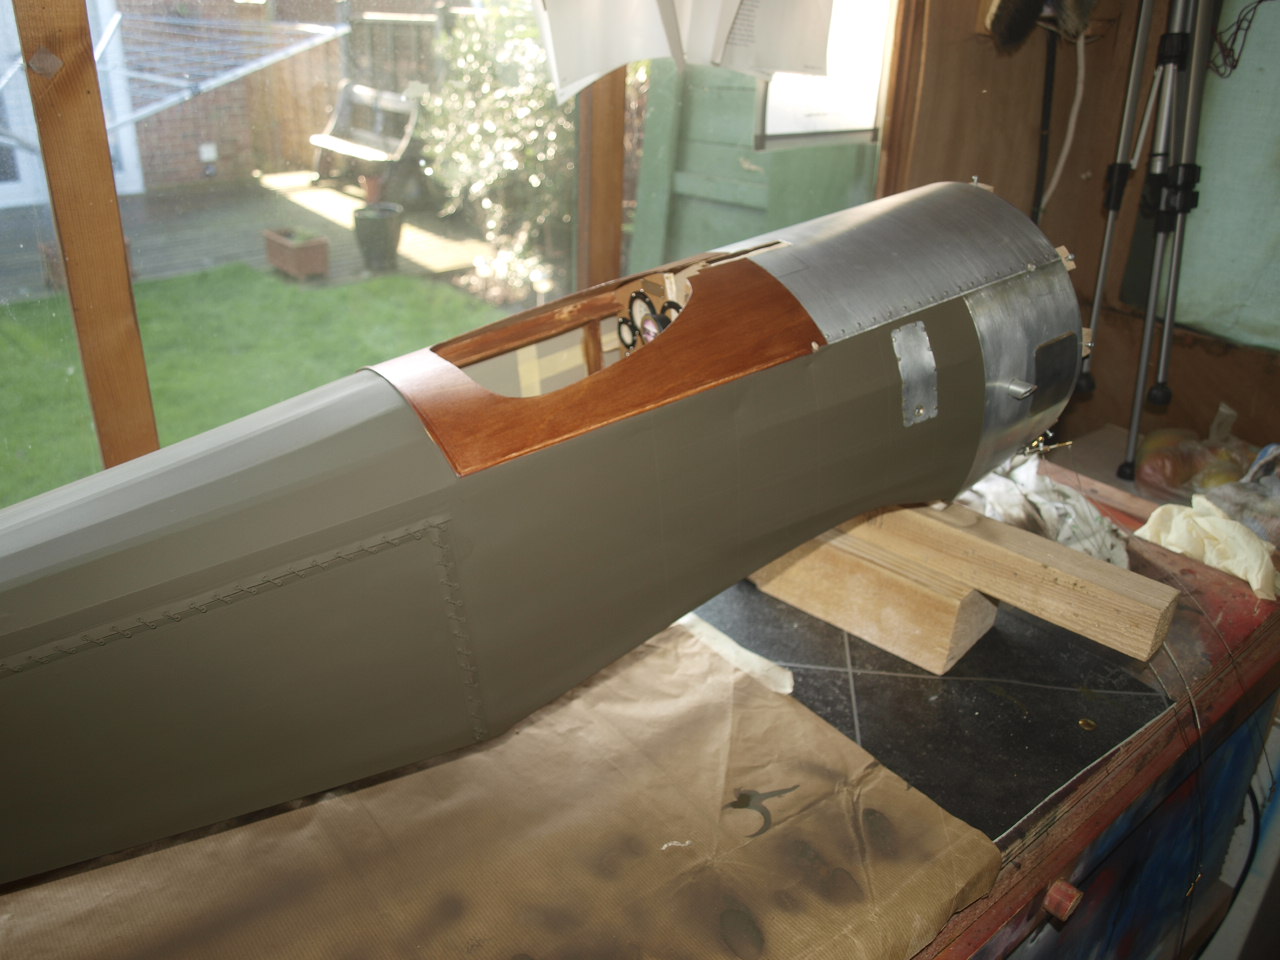
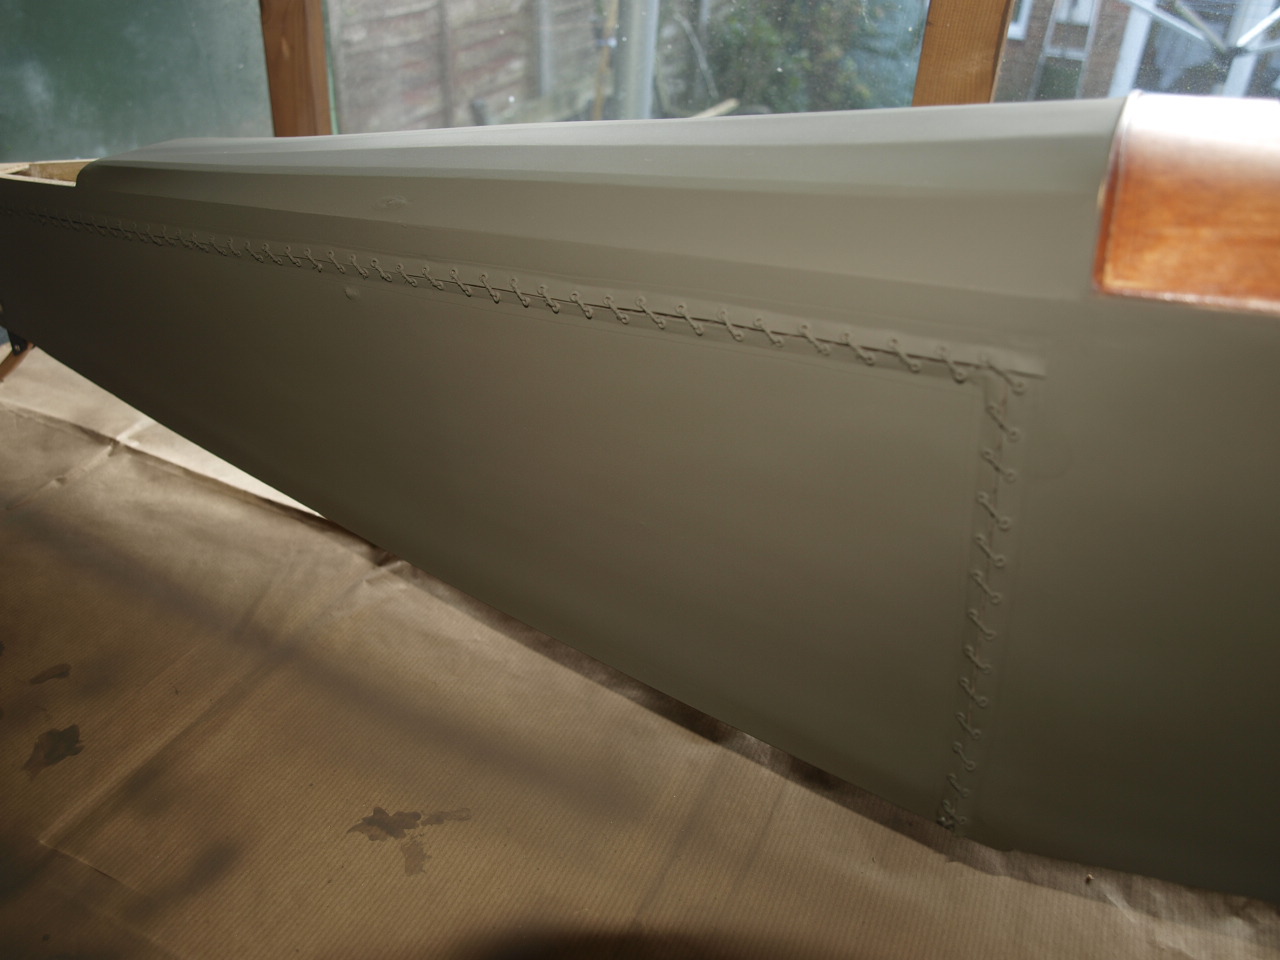
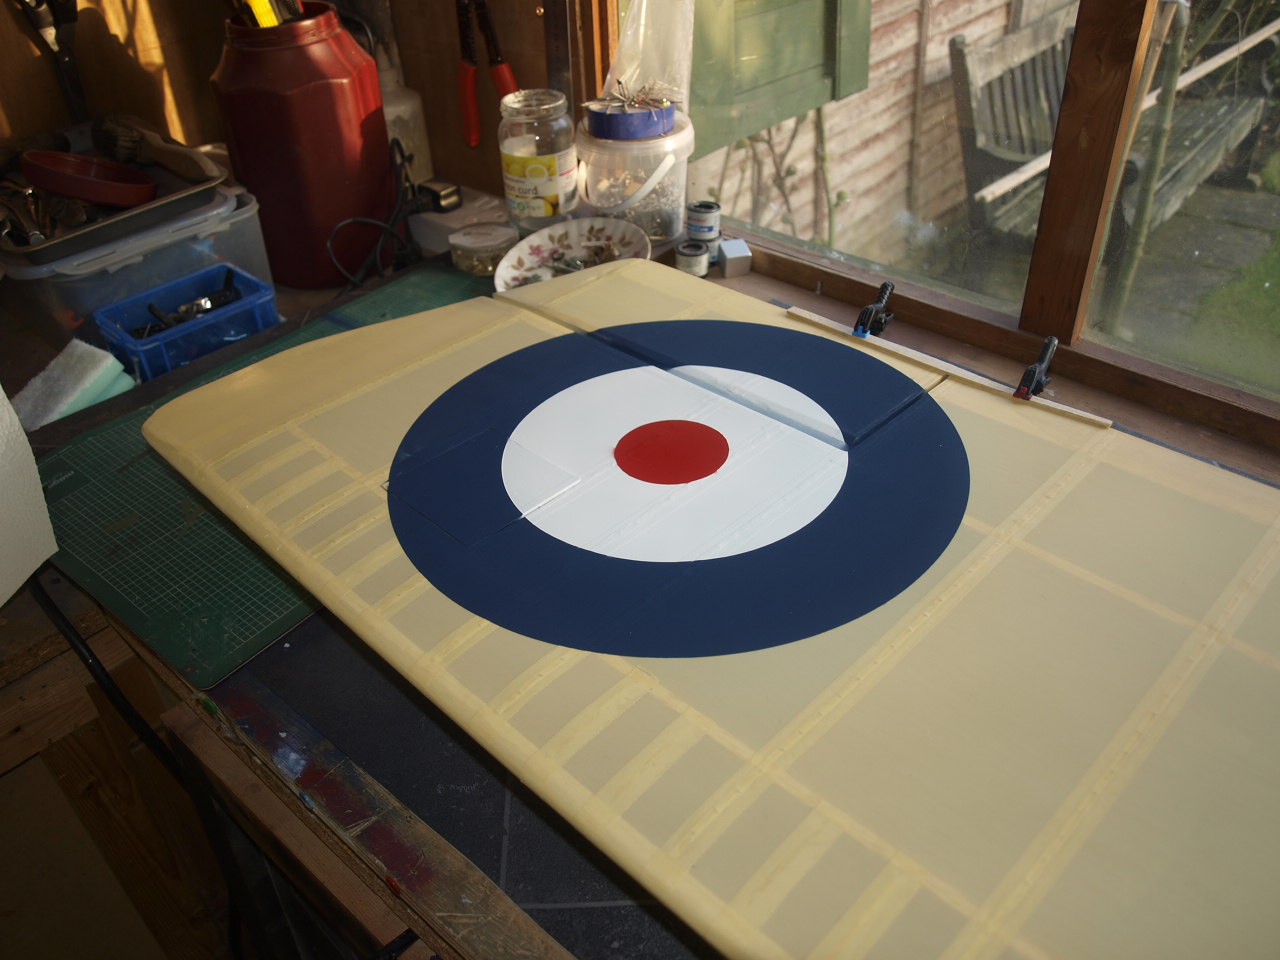
Pictures below showing the
now sprayed fuselage with masking still on and masking finally removed.
The fuselage was sprayed up with an air brush using the same methods as used for
the elevator and stabiliser.
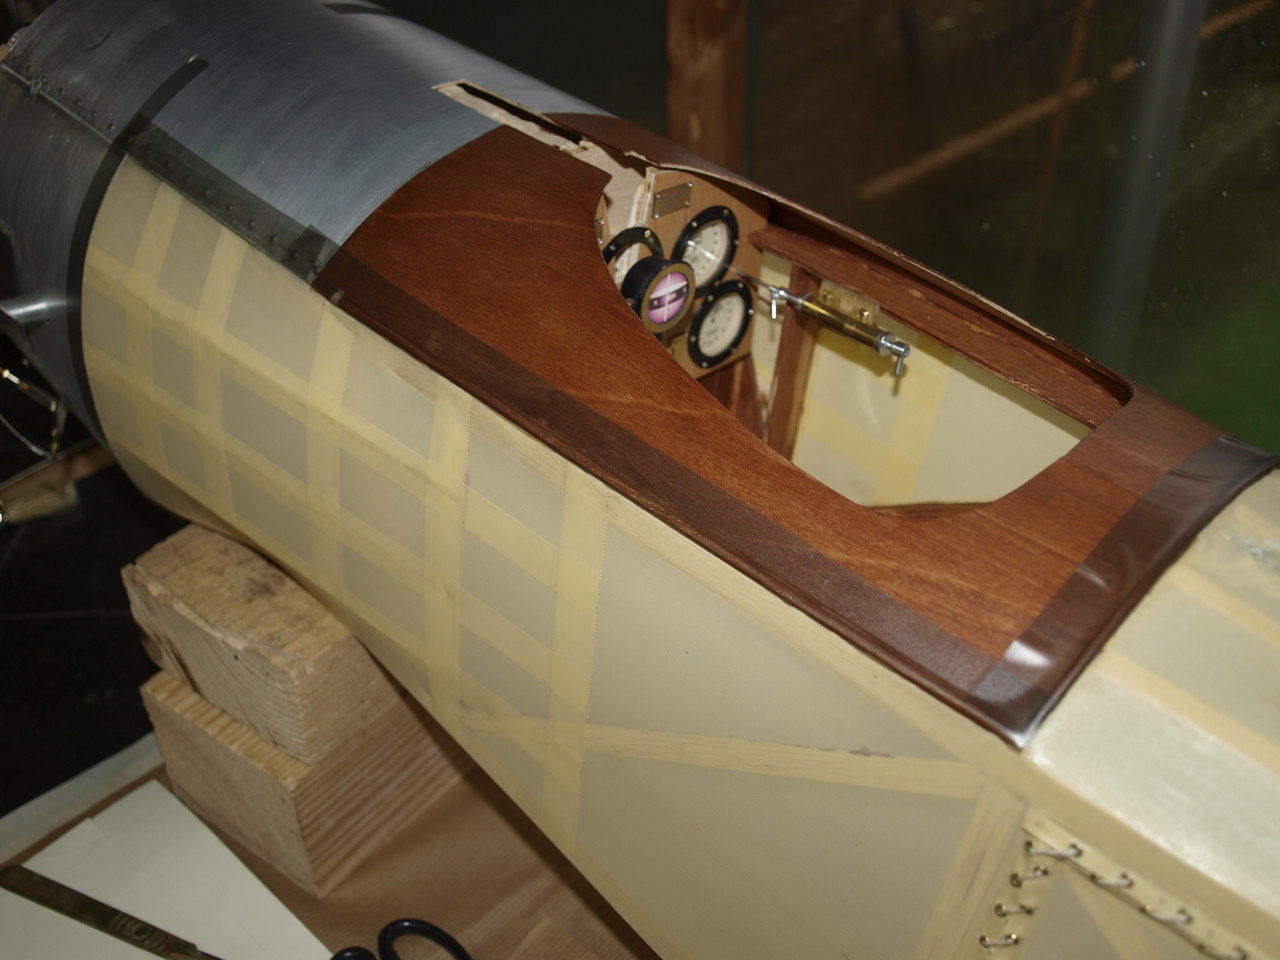
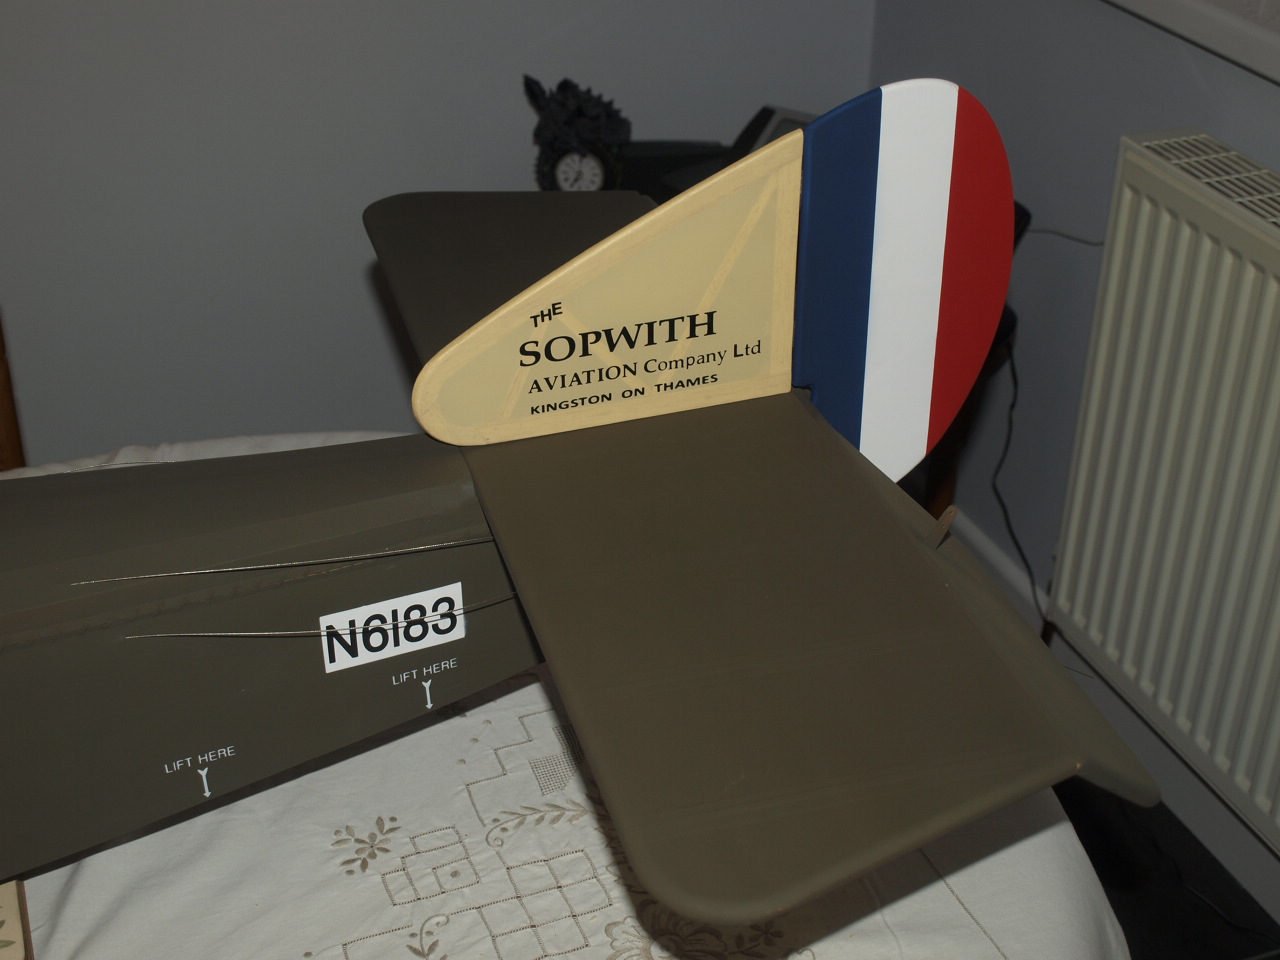
With the fuselage now coated in PC10 the next stage will be to add the insignia and roundels of my chosen scheme
 |
 |
 |
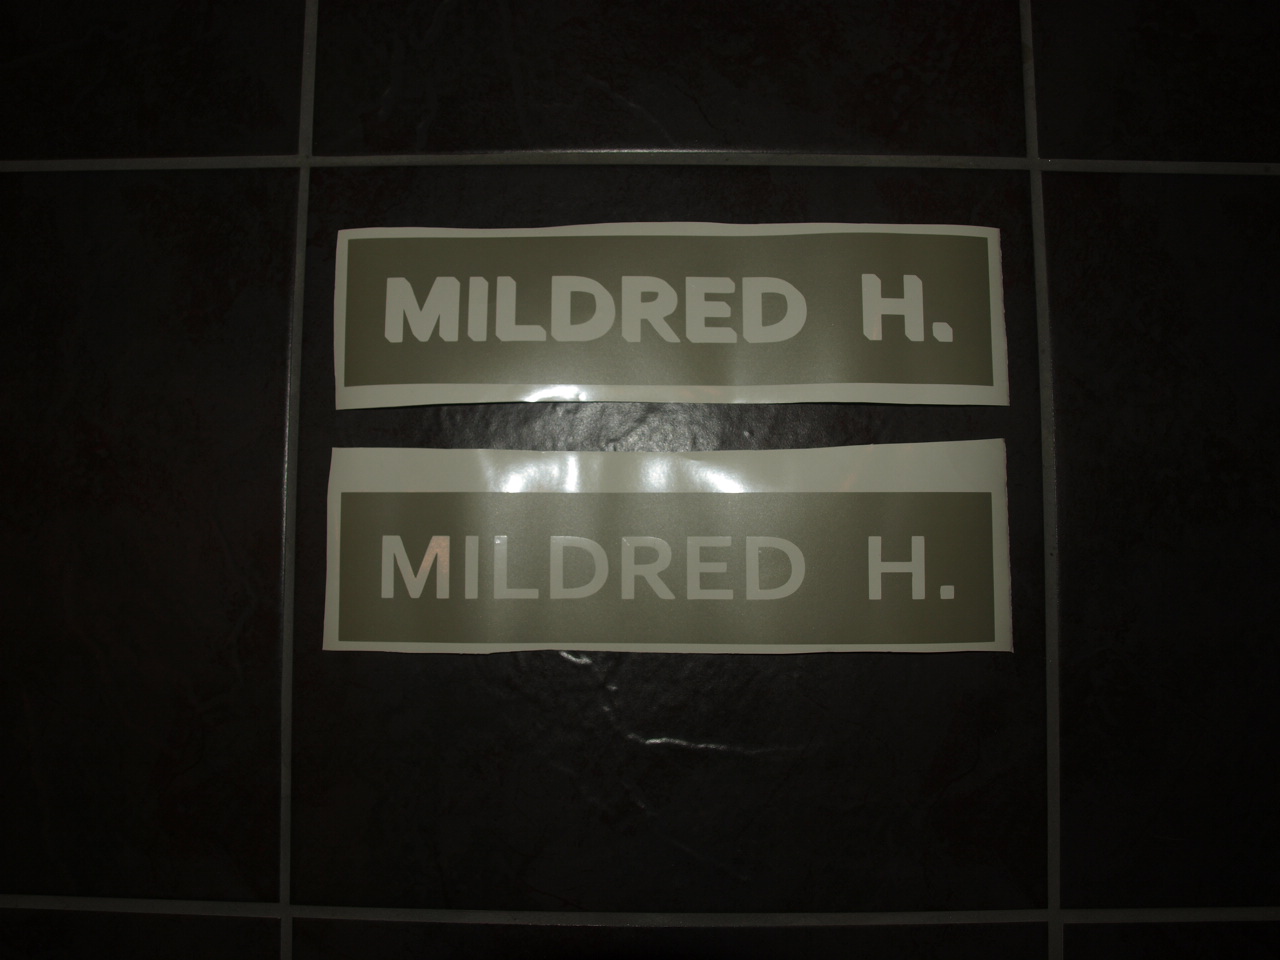
Applying the Mildred insignia
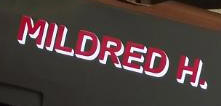 |
As you can see from the picture
above, this lettering has a shadow effect behind it making it a little more
complicated to replicate as opposed to straight forward lettering. The way in
which I'm going to tackle this, is to cut out two masks.
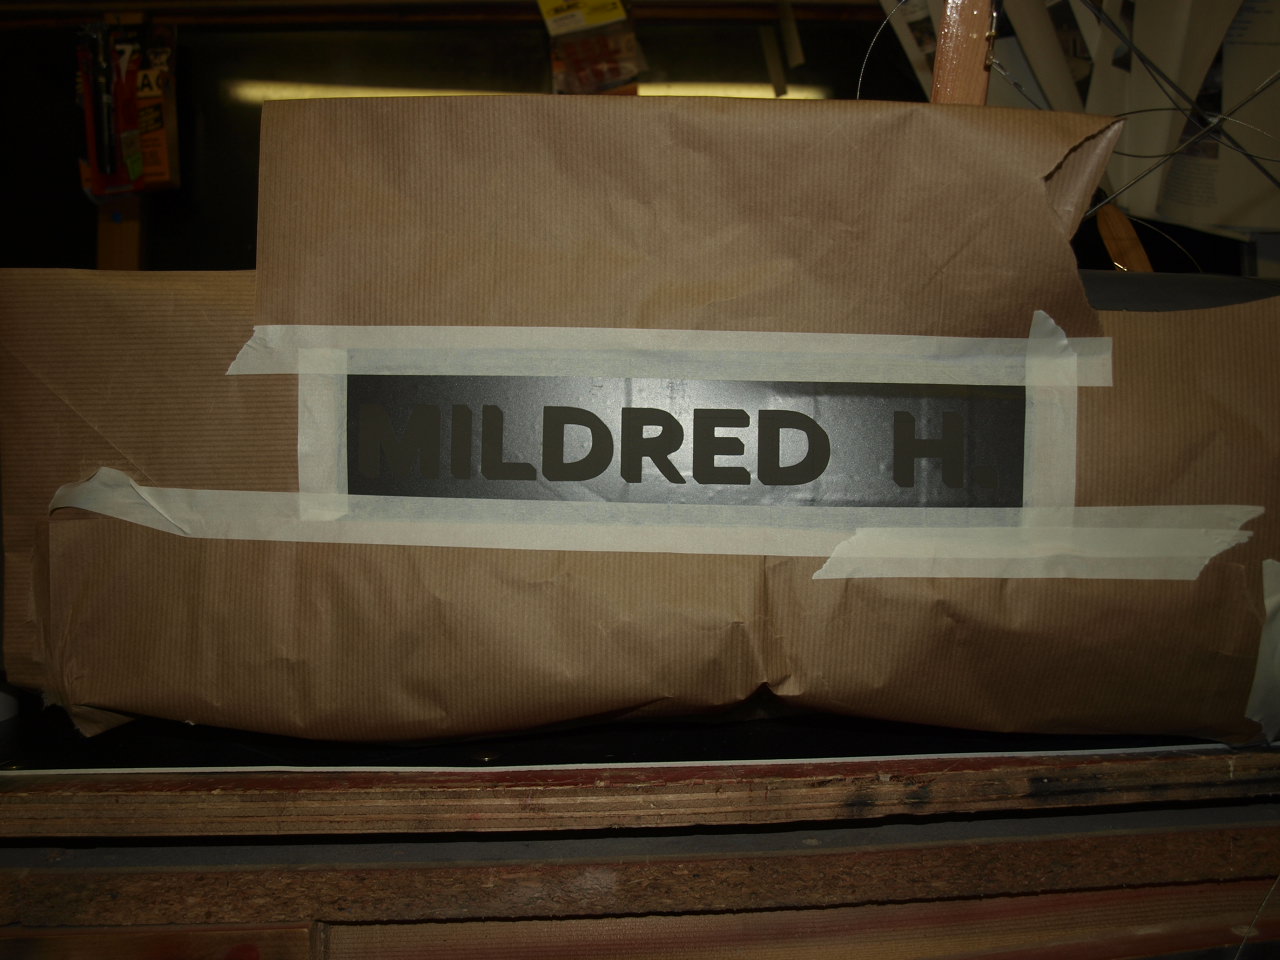
I have a vinyl cutter and associated software that allows me to cut out detailed
masks and graphics. This makes this job a lot more accurate and easier, rather
than having to try and cut out the masks by hand.
Using the cutting software I have created the lettering and then added a shadow to achieve the desired effect. When you send your work to be cut, the two colours are separated allowing you to cut the shadow and the main letters separately. See picture below.
 |
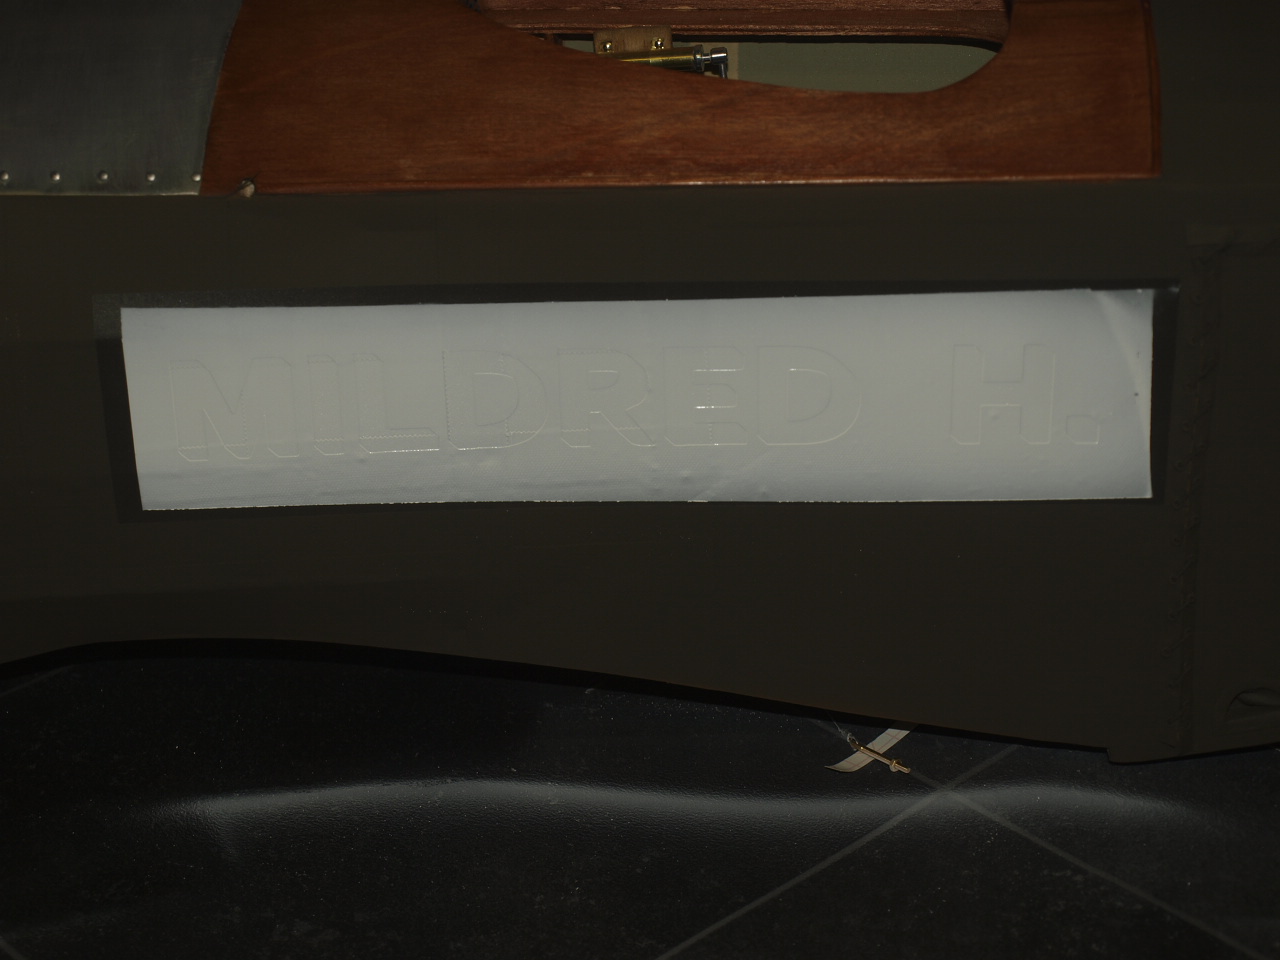
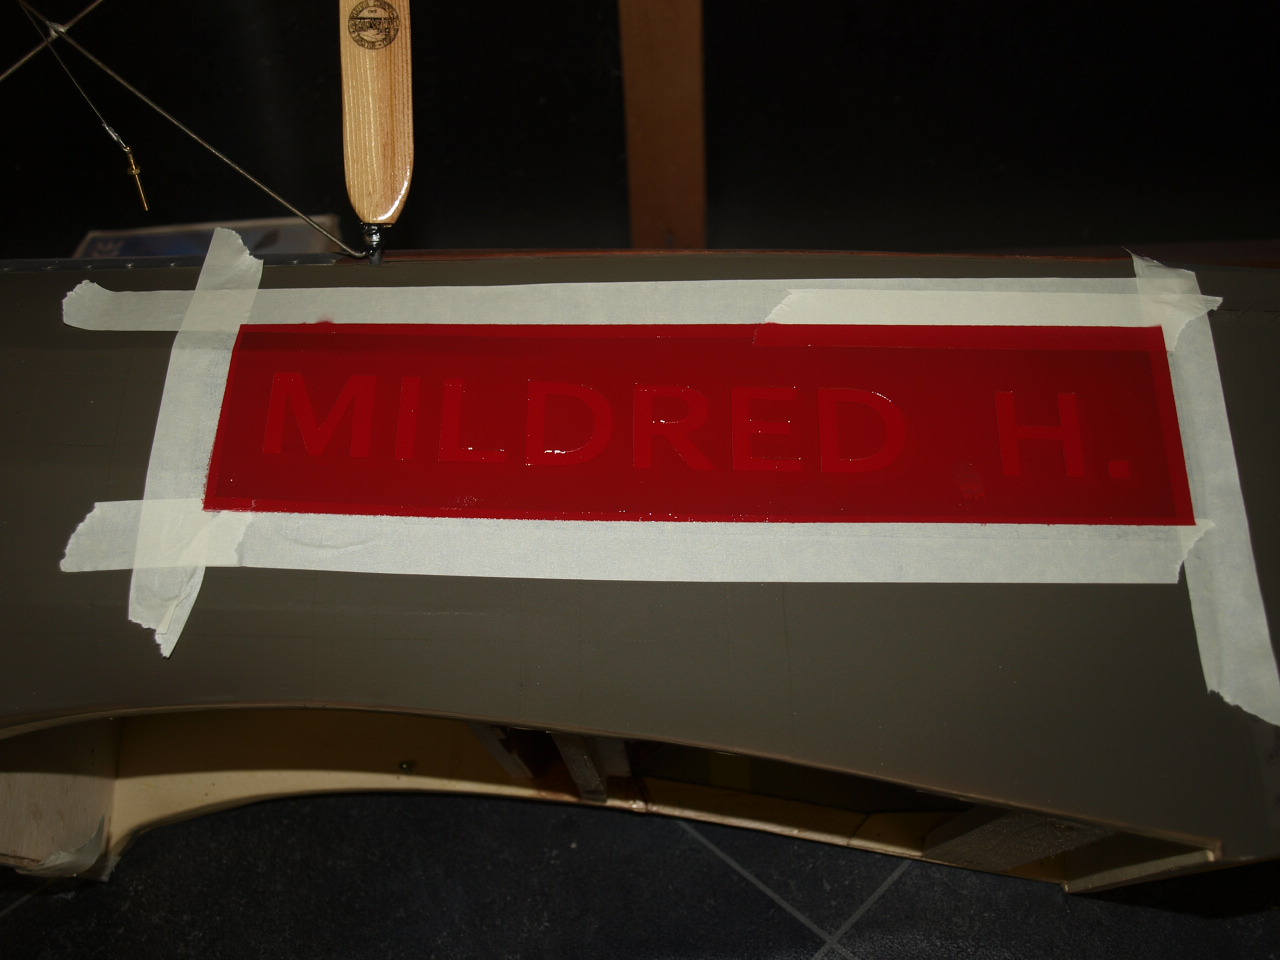
With these now cut,
firstly apply the shadow mask (the thicker lettering) to the side of the
fuselage at it's required location.
Once in position this is sprayed up white using the same methods used for the
stabiliser remembering to fully mask up the surrounding area.
 |
 |
Once sprayed, as before this is left to cure for around 12 / 24hrs before moving on to the next mask.
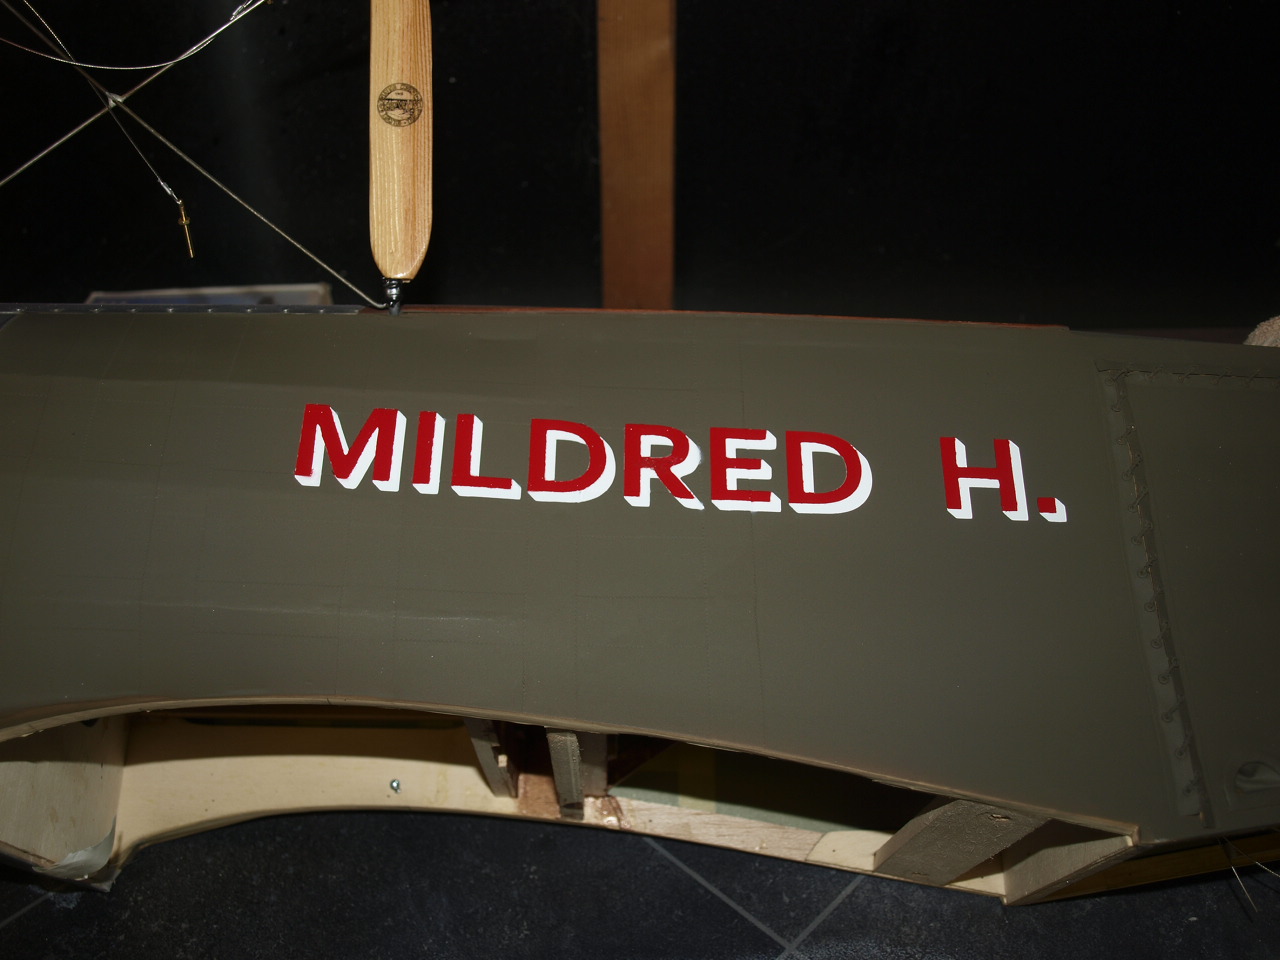
Remove the first mask, but leaving the inner part of the Ds and R in situ, I now place the second mask (thinner lettering) over the white shadowing making sure to align the lettering accurately.
 |
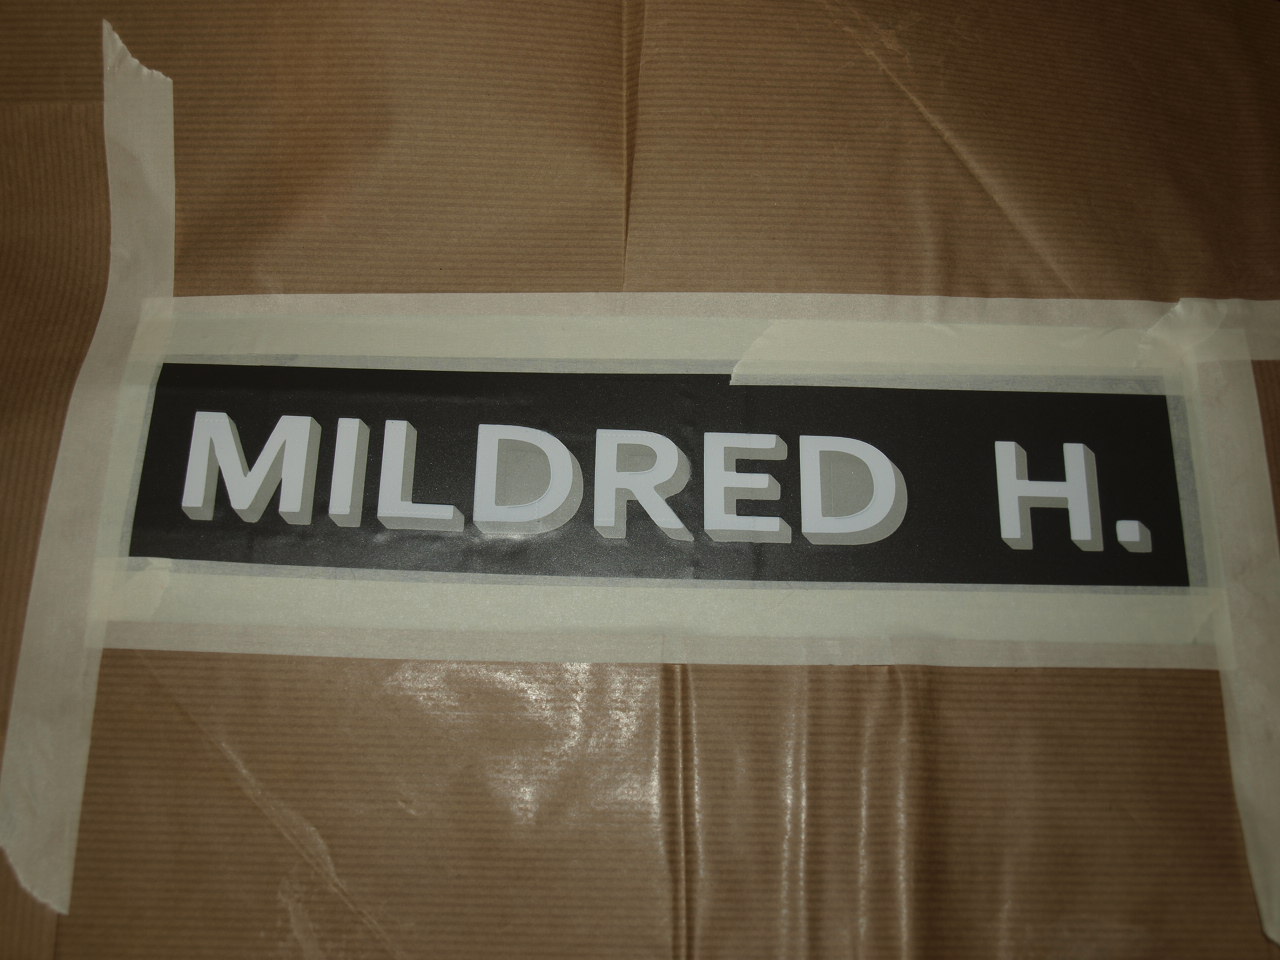 |
Once in place this
lettering is sprayed red.
Once dry the masks
can be finally removed giving us our replicated insignia.
 |
 |
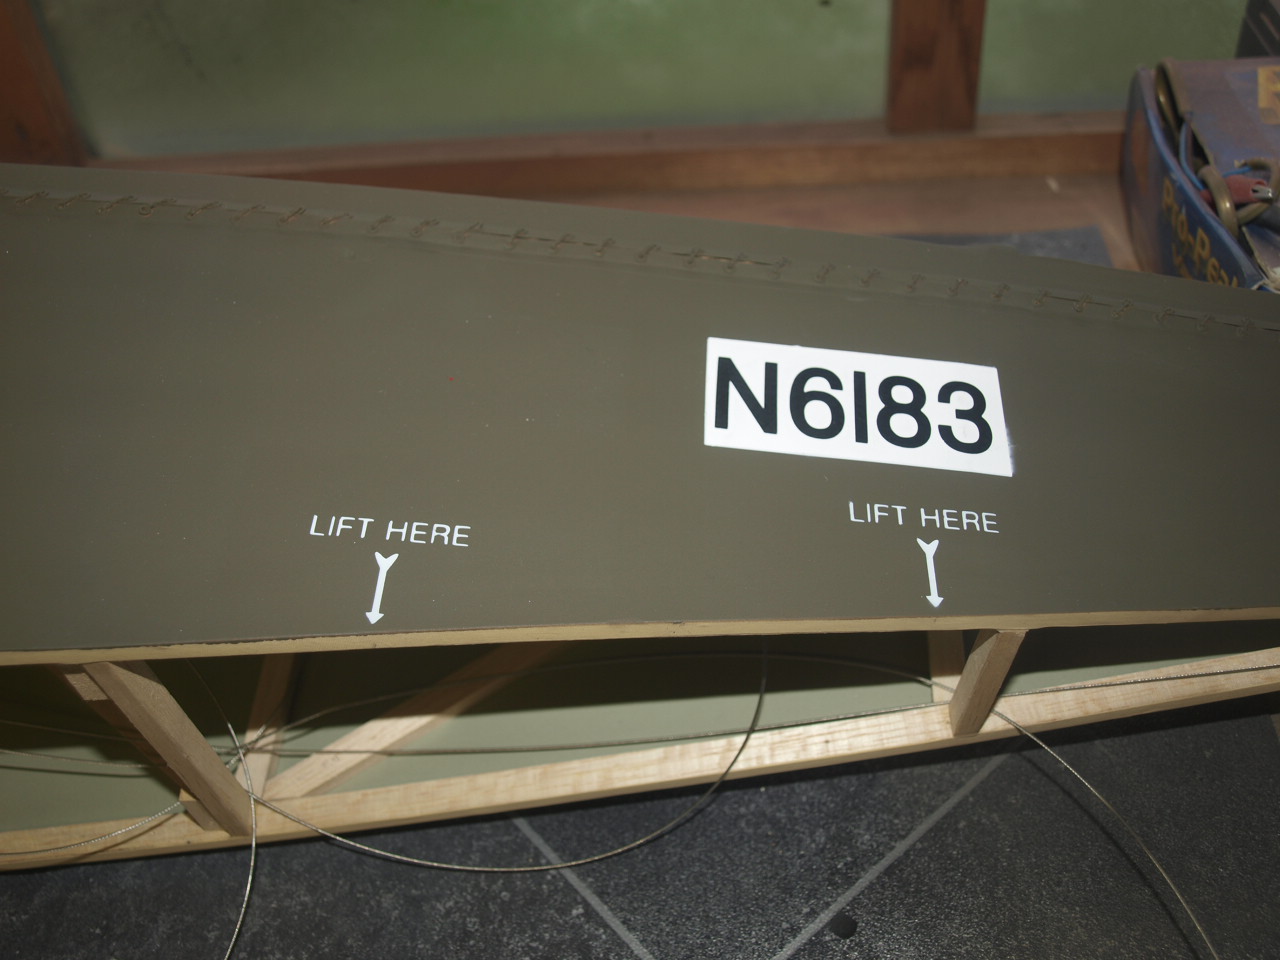
Below are number of pictures showing other insignia being applied to the model. The same methods as above have been used
 |
 |
 |
 |
 |
 |
Roundels
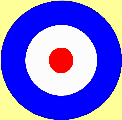
The Roundel's for this aircraft are of the A Type Patten shown below
Type A
Ratio 1:3:5
Upper wing roundel (top surface of wing)
Blue
55" Diameter full size
White 33" Diameter full size
Red 11" Diameter full size
Lower wing roundel (bottom surface of wing)
Blue
50" Diameter full size
White 30" Diameter full size
Red 10" Diameter full size
Fuselage roundel (Smaller dimensions apply to this aircraft)
Blue
35" or 25" Diameter full size
White 21" or 15" Diameter full size
Red 7" or 5" Diameter full size
To scale
the roundel down to the correct size divide the full size dimensions by the
scale of the model. i.e.
For this model which is quarter scale
Top wing roundel 1/4 scale dimensions
55" divided 4 by = 13".75
33" divided by 4 = 8".25
11" divided by 4 = 2".75
Now armed
with these dimensions I can start cutting out the individual masks for each set
of roundels.
Again I'm lucky here as I can use my vinyl cutter.
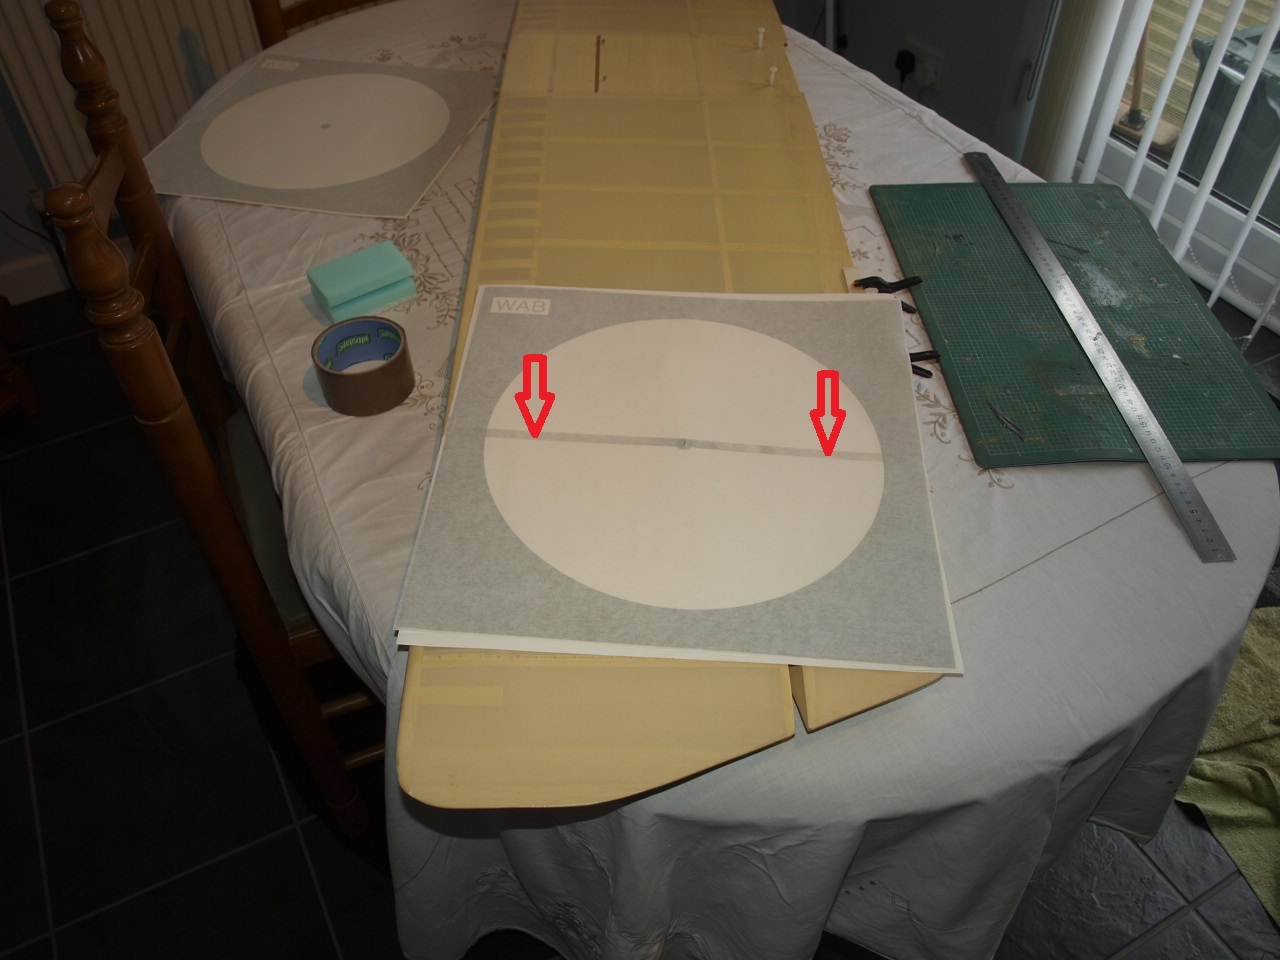
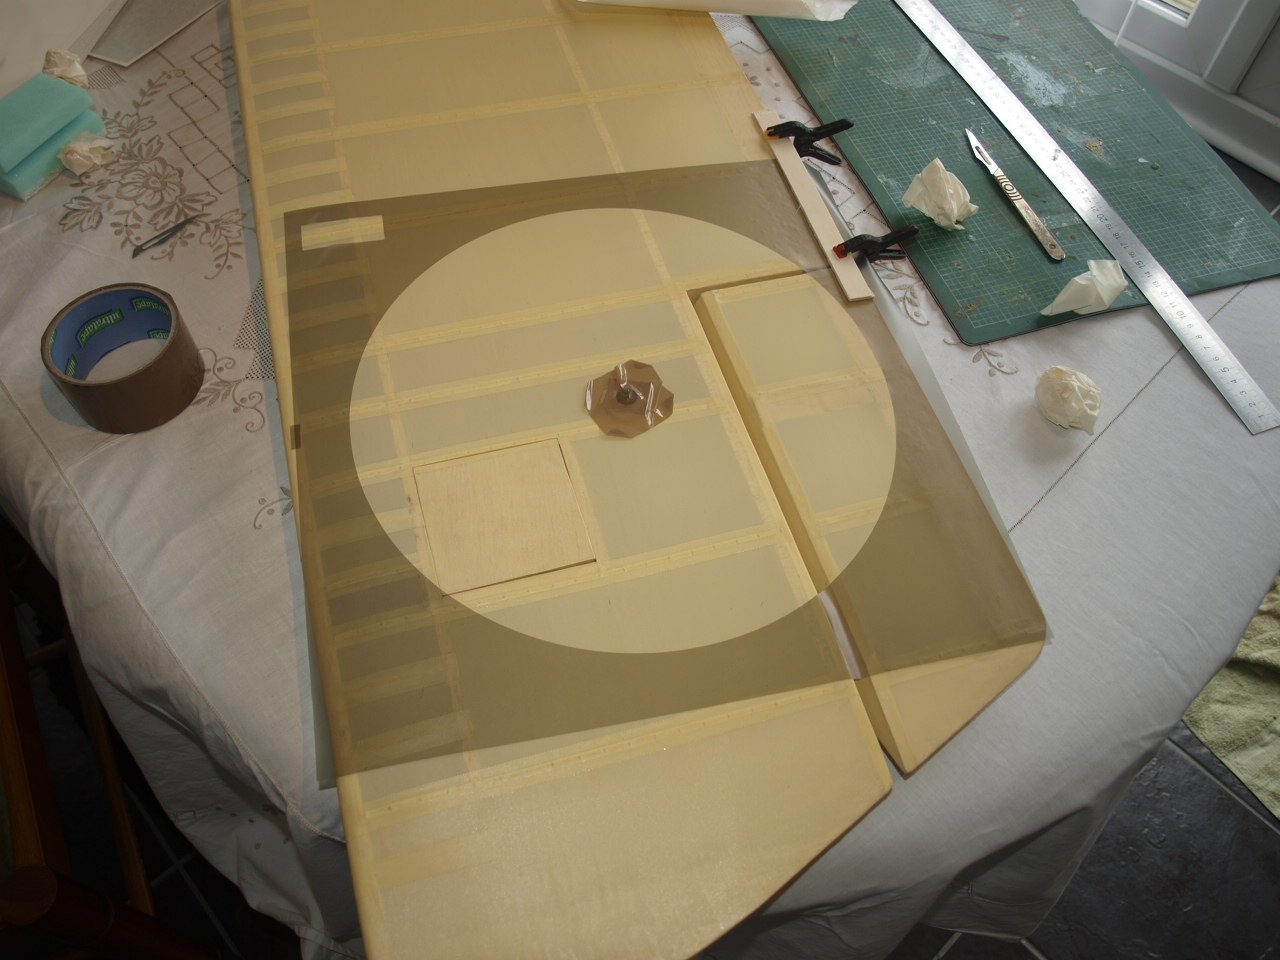
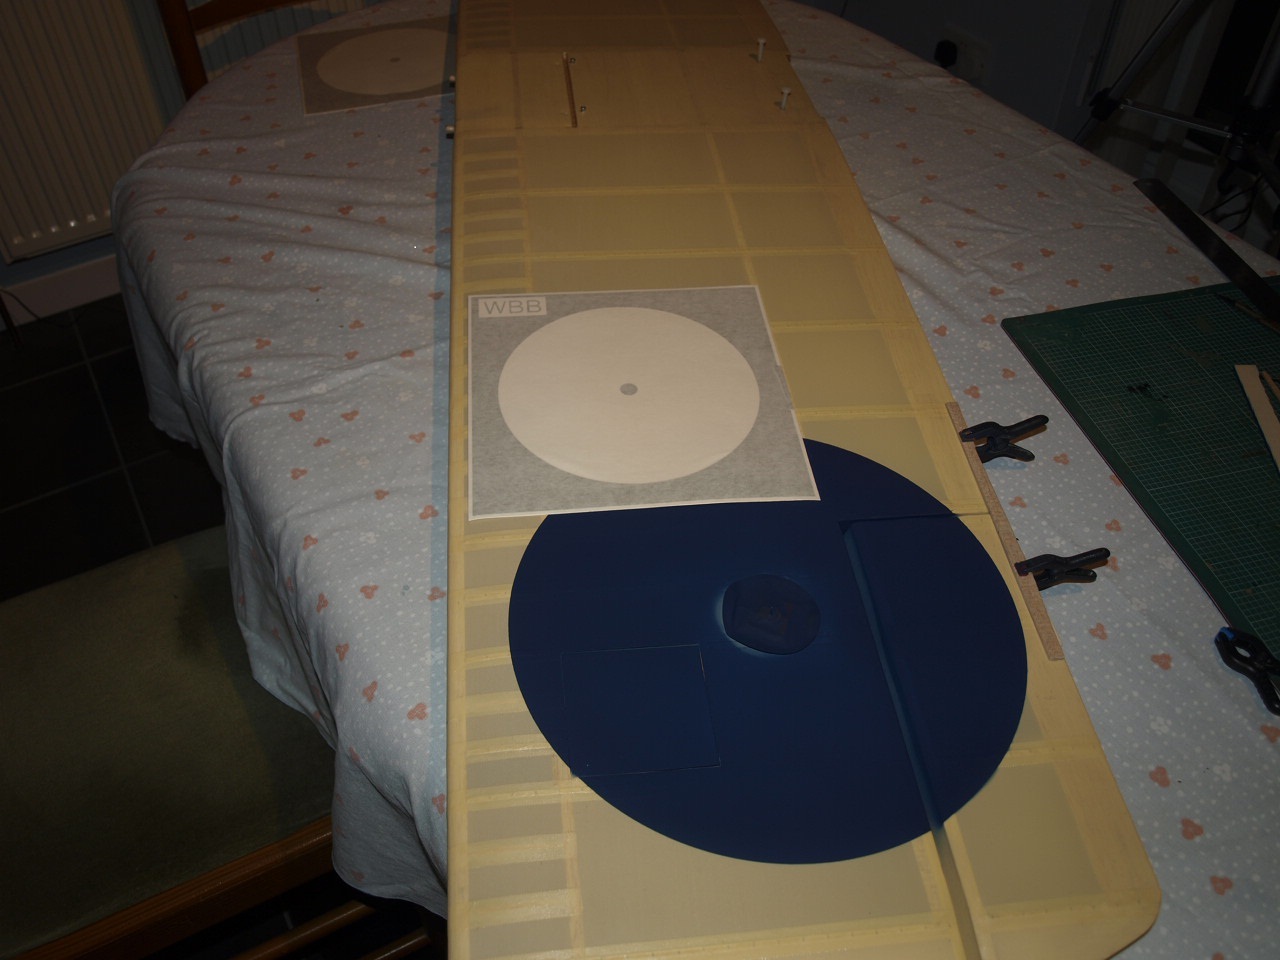
Below is a picture of the masks cut and backed with transfer paper ready for applying to the wings and fuselage.
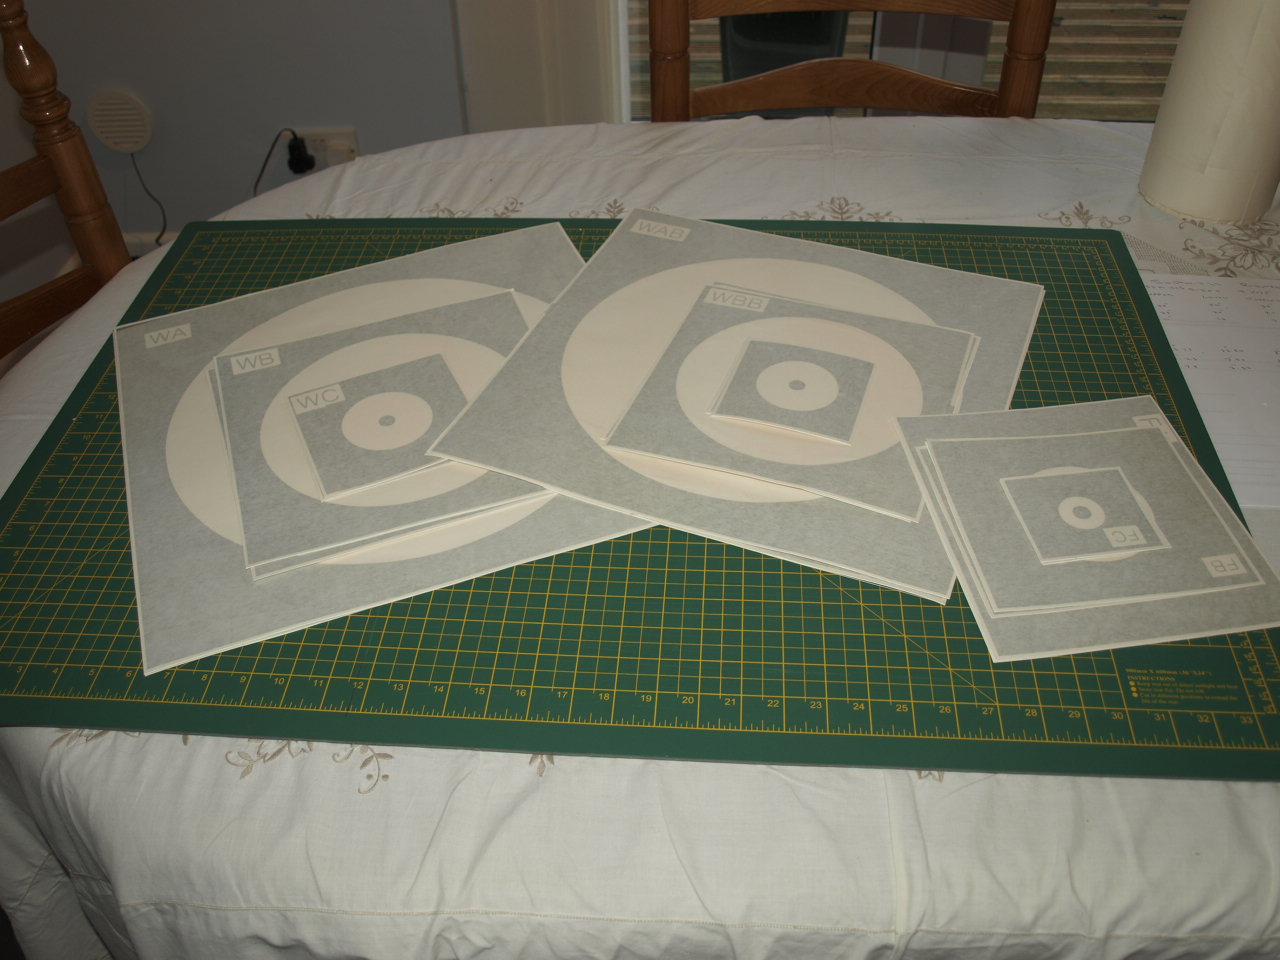 |
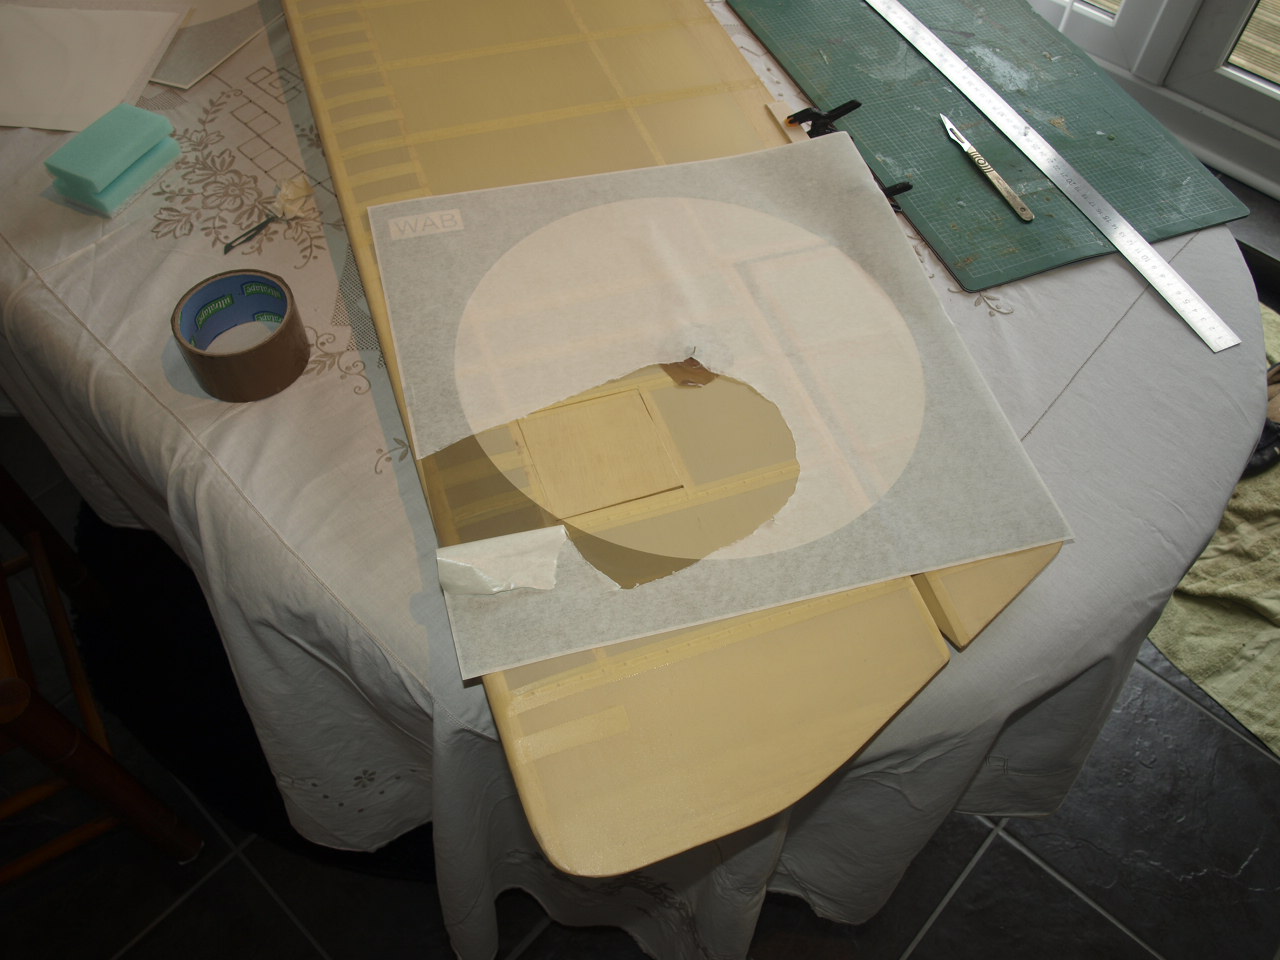
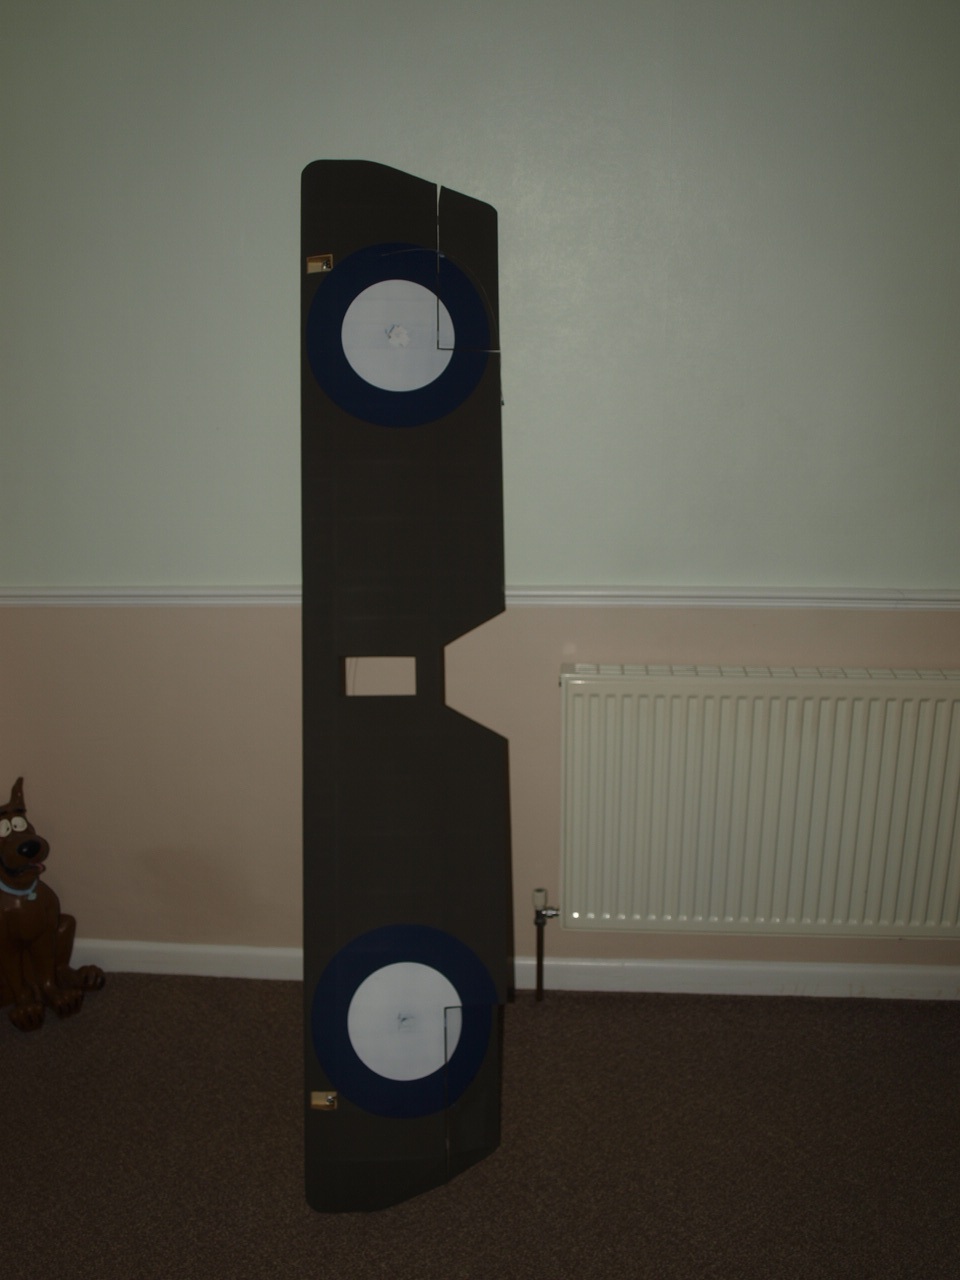
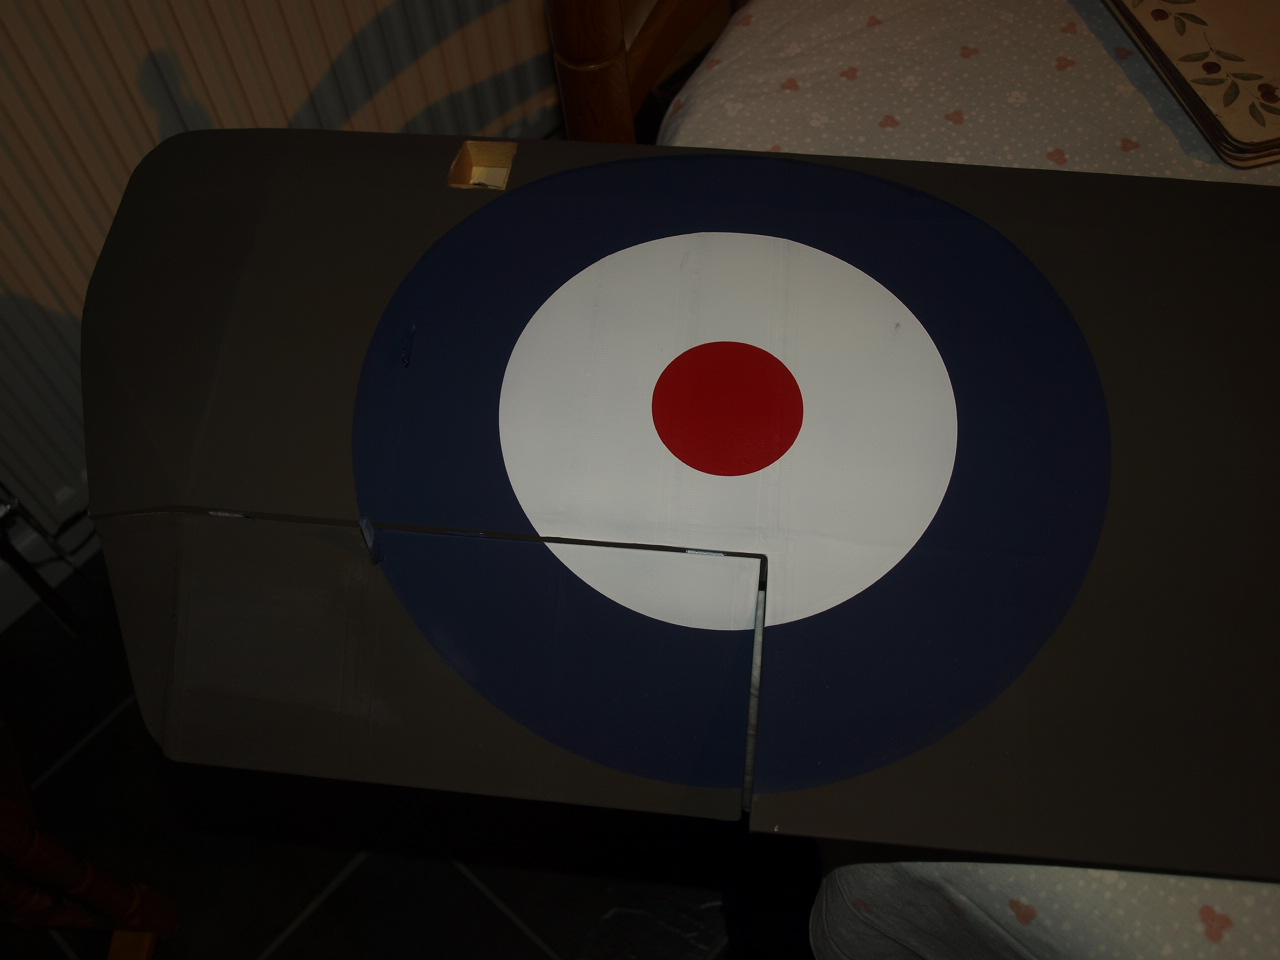
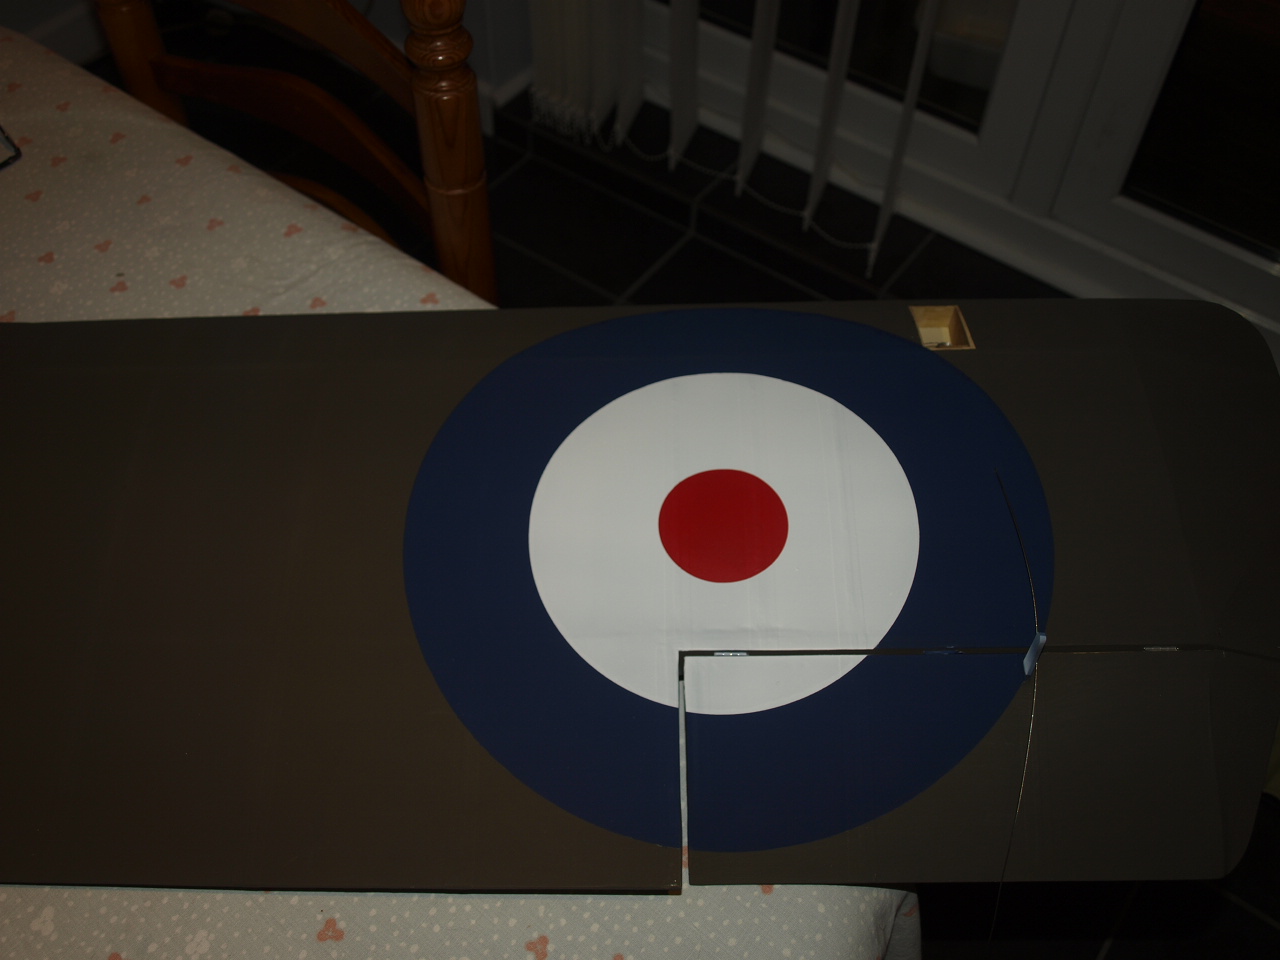
Below are a couple of pictures showing the fuselage roundels now in place. I will cover the processes for masking and spraying these on when I move onto spraying up the wings.
You may be able to see from the second picture below, that the blue portion of the roundel falls over the stitching that runs along the fuselage. This posed a problem when placing the masks, as the mask kept lifting around this area. I had to cut the mask either side of the stitching and then remove the cut section. This was then replaced with ordinary masking tape strips that were then crimped around and over the stitching making sure that the curve of the roundel was maintained. I have not shown this procedure as I needed to concentrate fully on getting this right.
 |
 |
APPLICATION OF ROUNDELS
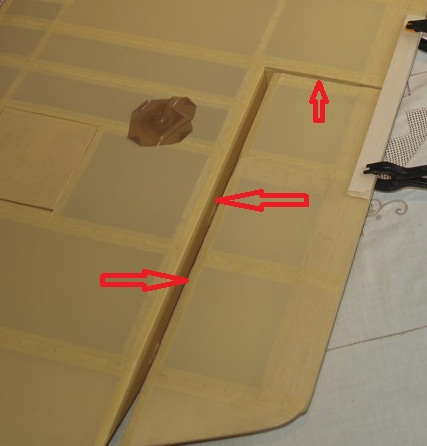
Important: Before applying roundel masks, you will need to mask off the leading edge and end of the aileron and also the trailing edge of the wing that the aileron adjoins to. See picture below.
Each roundel colour has its own mask made up as shown in an earlier picture above.
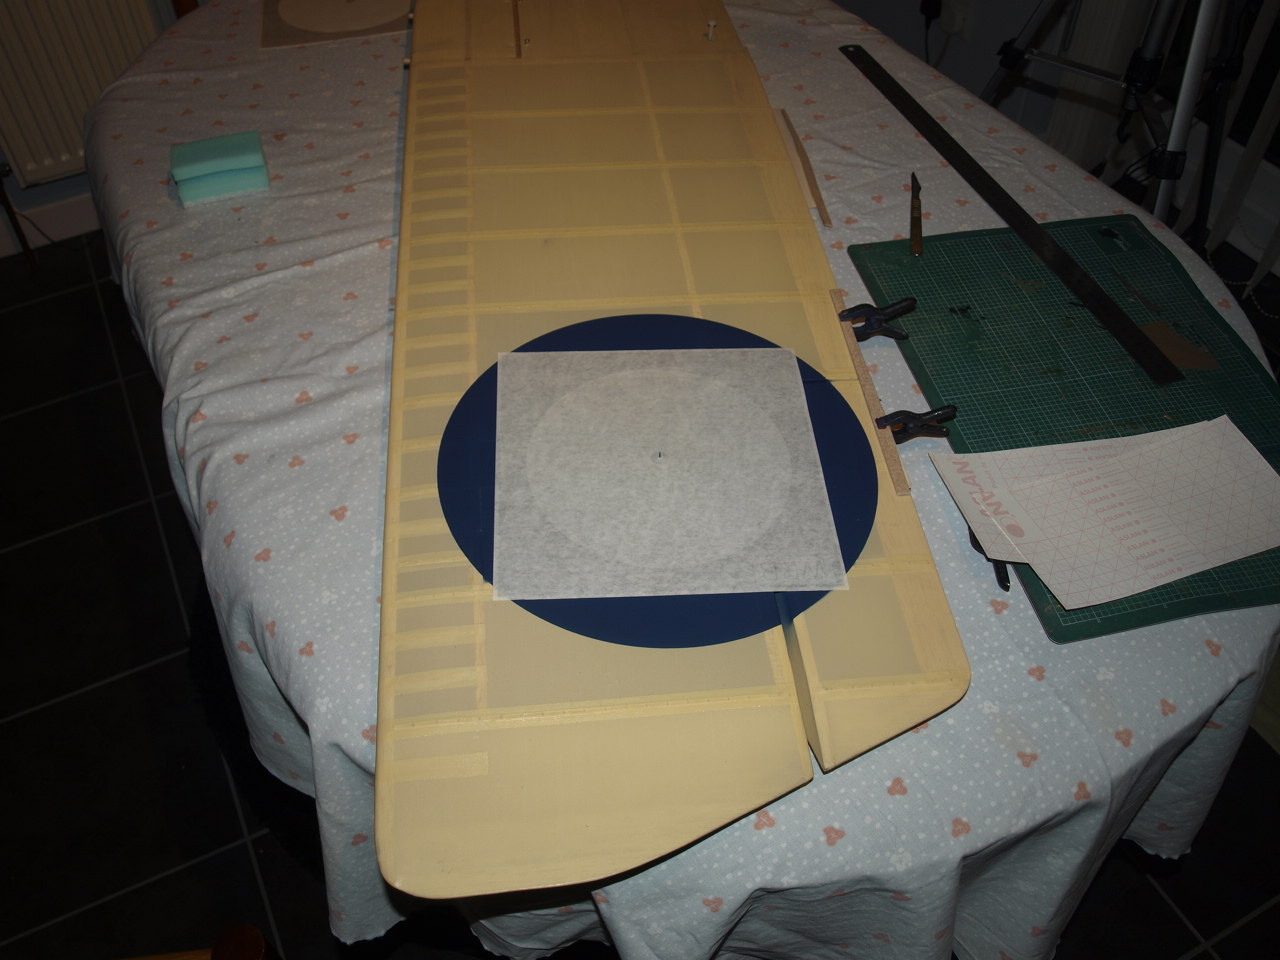
Before we start applying the mask the location of each roundel needs to be worked out and their central position located on the wing.
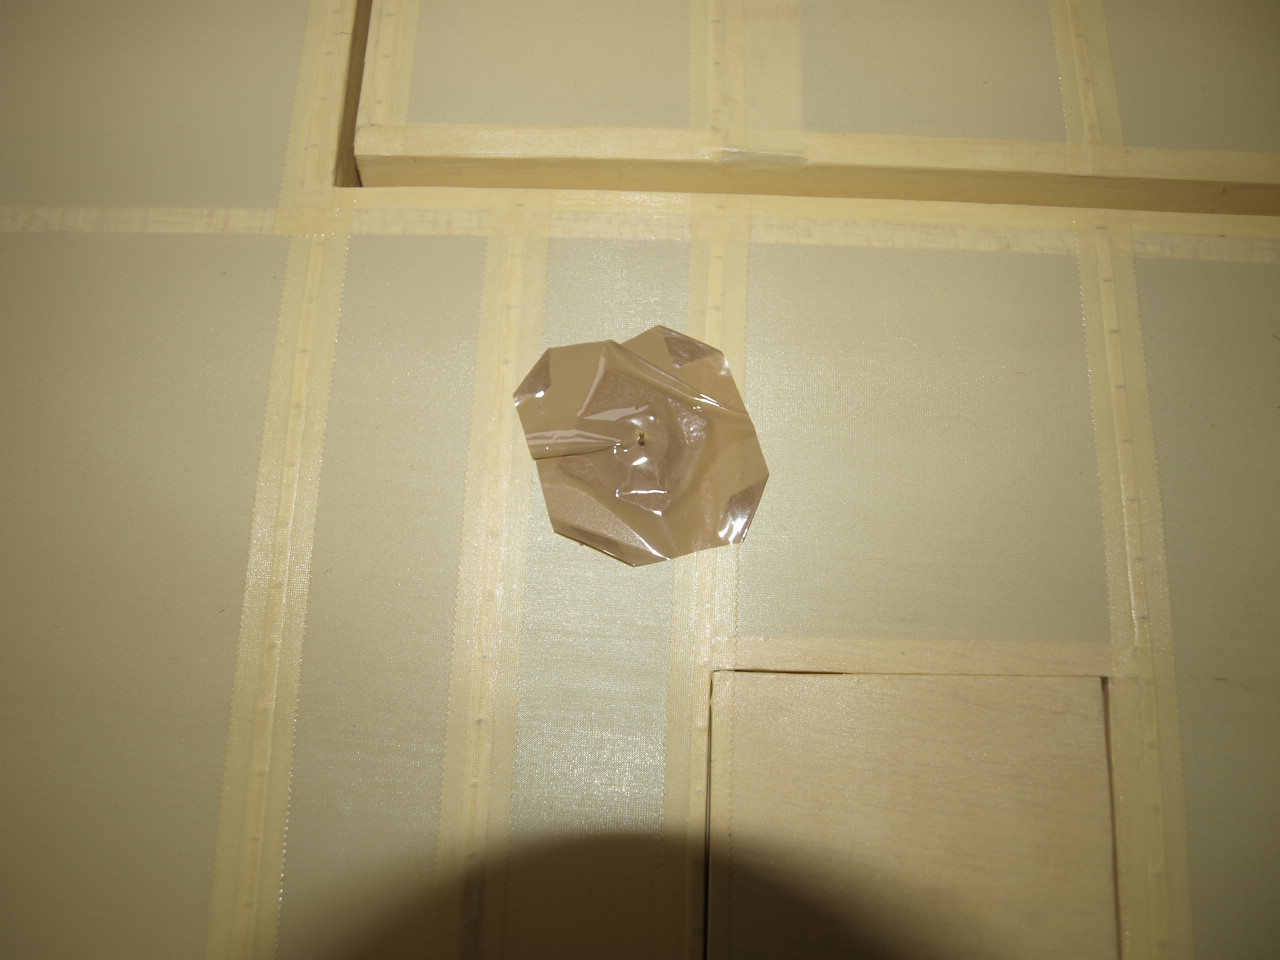
In the first picture below you can see a drawing pin with point facing up and secured into place with tape. This gives us our centre point for each roundel mask and therefore this will remain in place throughout the application and spraying processes.
With the pin now in place, we can move on to preparing the mask ready for application to the underside of our wing.
The second picture shows the mask with its backing paper removed. This revels the masks sticky side, so care must be taken not to allow any foreign objects to come into contact with this surface. The backing paper that has been removed is placed onto a cutting mat and cut in half with a craft knife. The two halves are now placed back onto the mask but this time leaving approximately 3mm either side of the centre point of the mask ( small circle in middle)
 |
 |
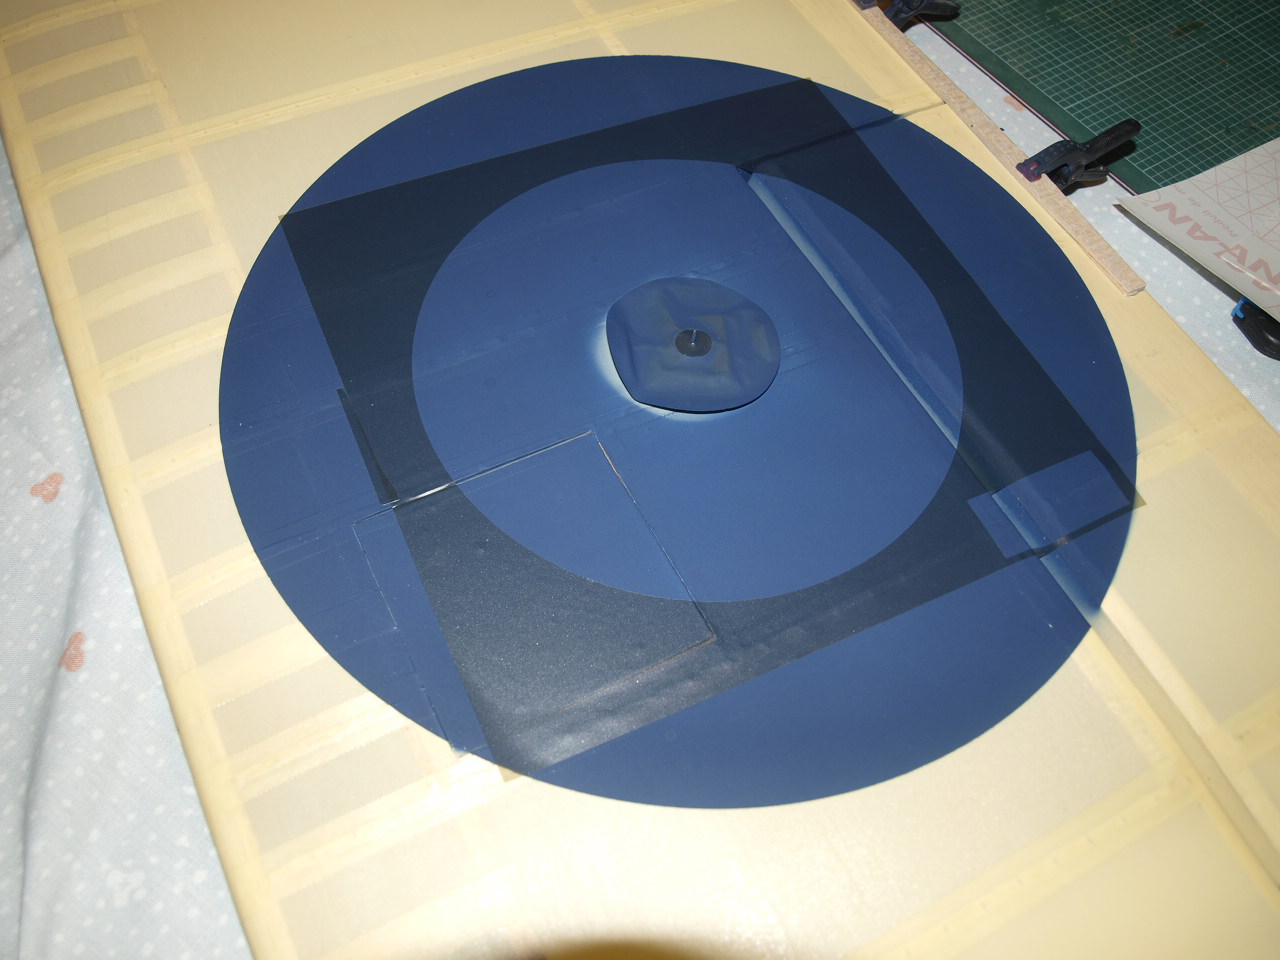
With the backing paper now back in place again on the mask, the mask is offered up over the wing with the centre circle of the mask being aligned centrally over the pin and pushed down into place.
The portion of the mask (See
arrows below)
that is not covered by the backing paper is now smoothed down onto the wing.
Once happy with the positioning each half of the mask is lifted up and the
backing paper carefully pealed back and at the same time the mask stuck
down into position. (First pic below)
The mask is now smoothed all over to ensure it is firmly in position and once happy the application paper is removed to reveal the mask (second, third pic below)
 |
 |
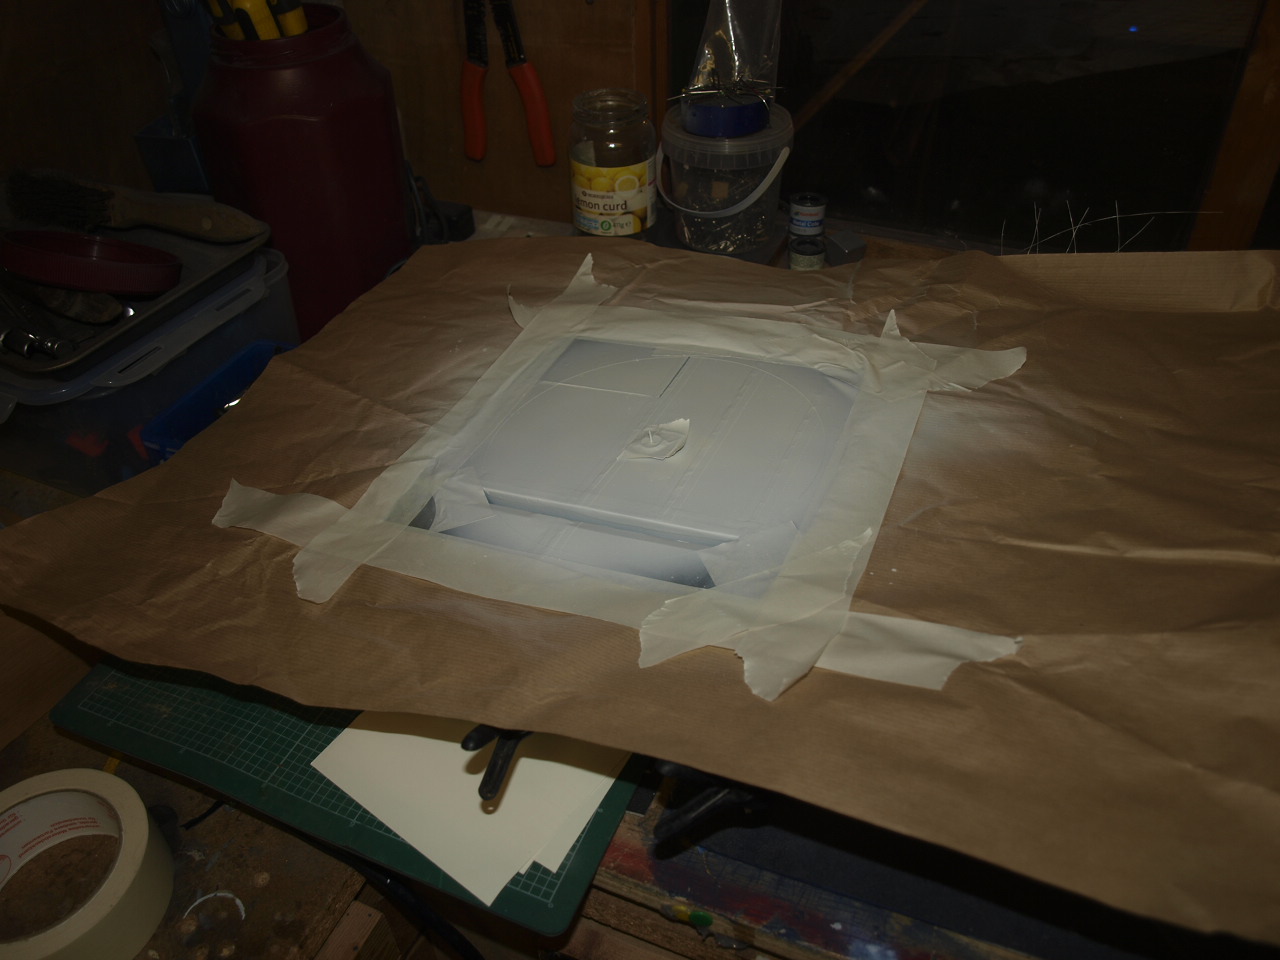
All that is needed now is to apply brown paper to protect the rest of the wing when spraying (pic two below)
 |
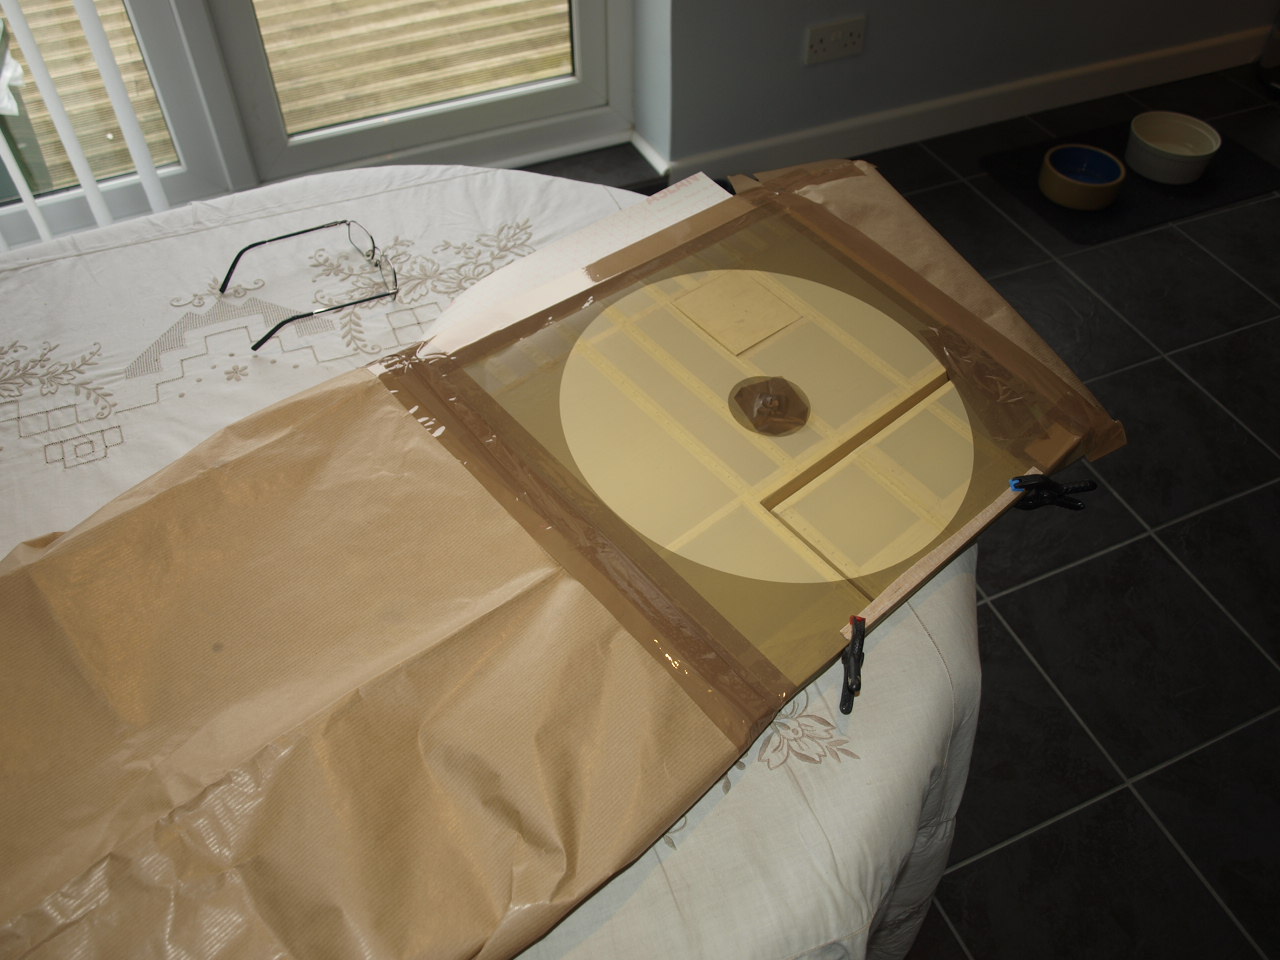 |
The blue portion of the roundel is now sprayed. (note I have sprayed the entire circle blue. This is so that I don't get any colour differential when applying the white)
These next pictures showing either side of the wing with the blue now on.
 |
 |
Now that the Blue has dried, the mask for the white is applied. This is applied using the same steps as used when we applying the blue mask. See pictures below
 |
 |
 |
 |
Again as before the wing is
masked up with brown paper to protect it from any overspray that is
inevitable when using airbrushes or spray guns.
Once all masked up the white is applied as described for the blue.
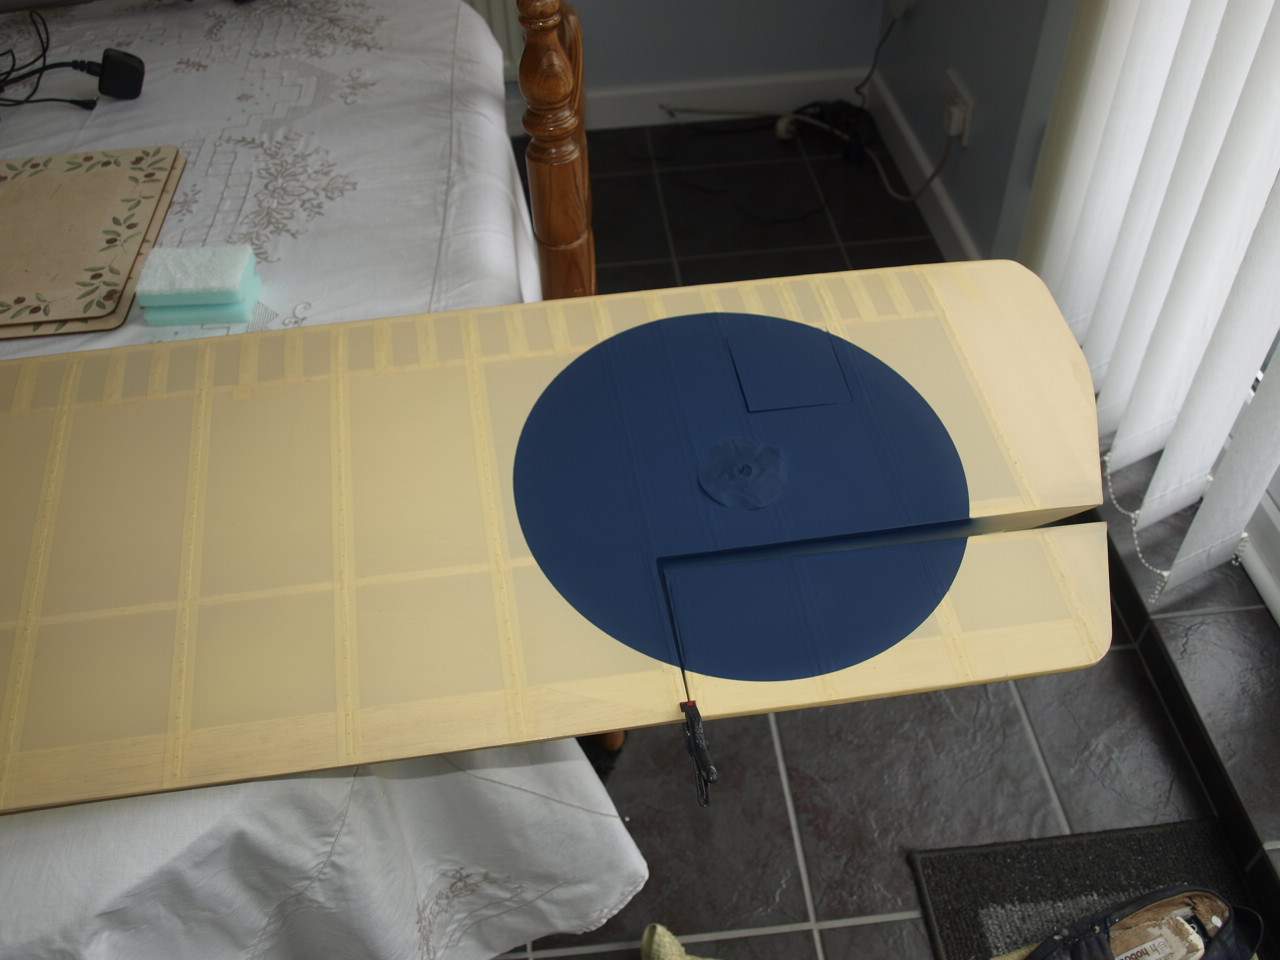
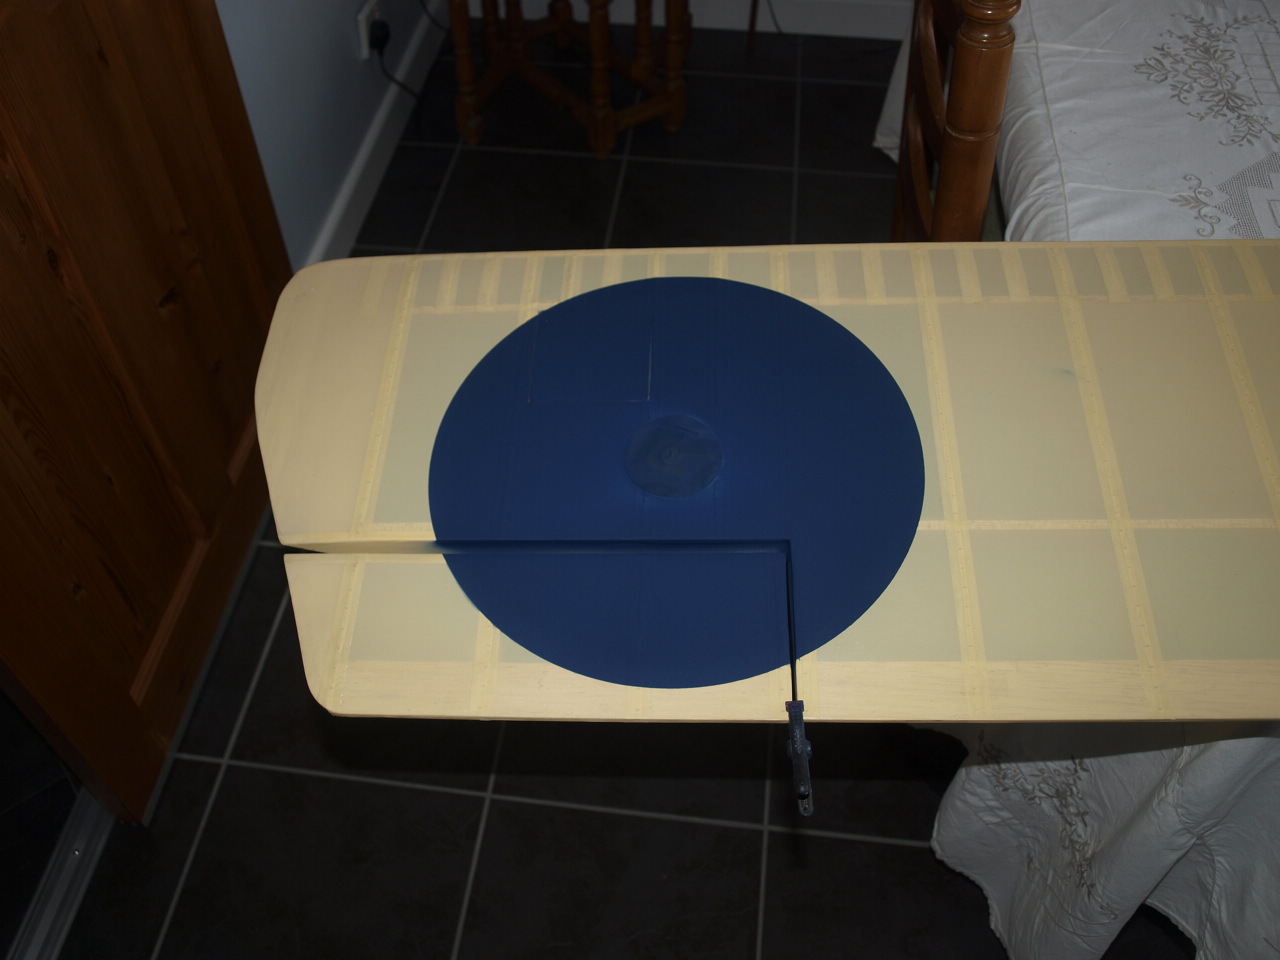
When dry the mask is removed revealing a now blue and white roundel.
 |
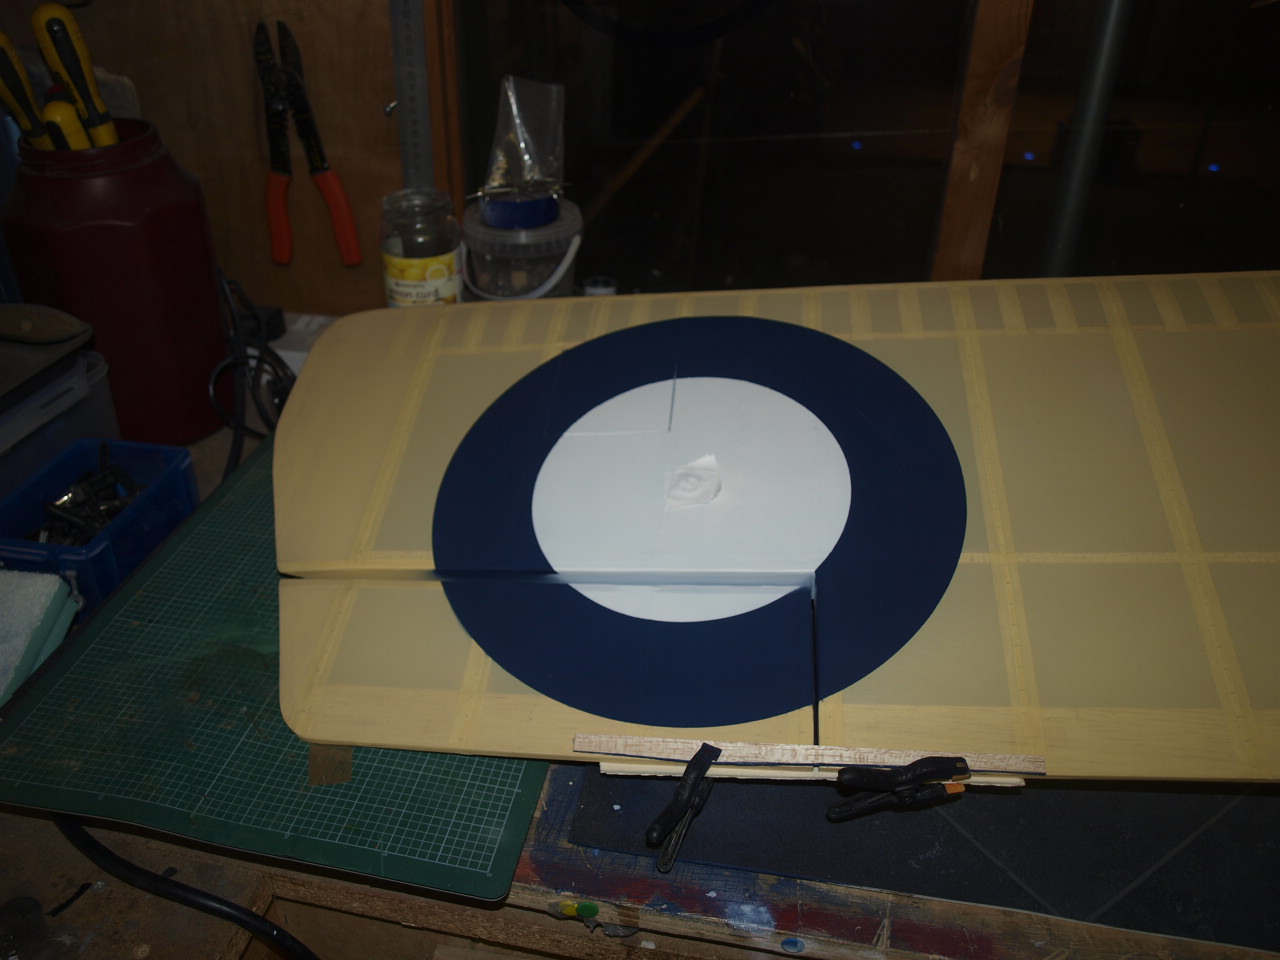 |
Finally the last mask for the red is put into position using the same process as the previous two, but once in place the alignment pin is removed to allow the entire coverage of the circle with red paint.
Once dry, again remove the masking and there you have it your perfect roundel.
 |
 |
Application of roundels for top wing
Just a few pictures showing each roundel colour which has been applied using the same processes as above. The only difference is that we have the curvature of the ribs. As long as you take your time in applying the masks you should not encounter any problems.
 |
 |
 |
 |
 |
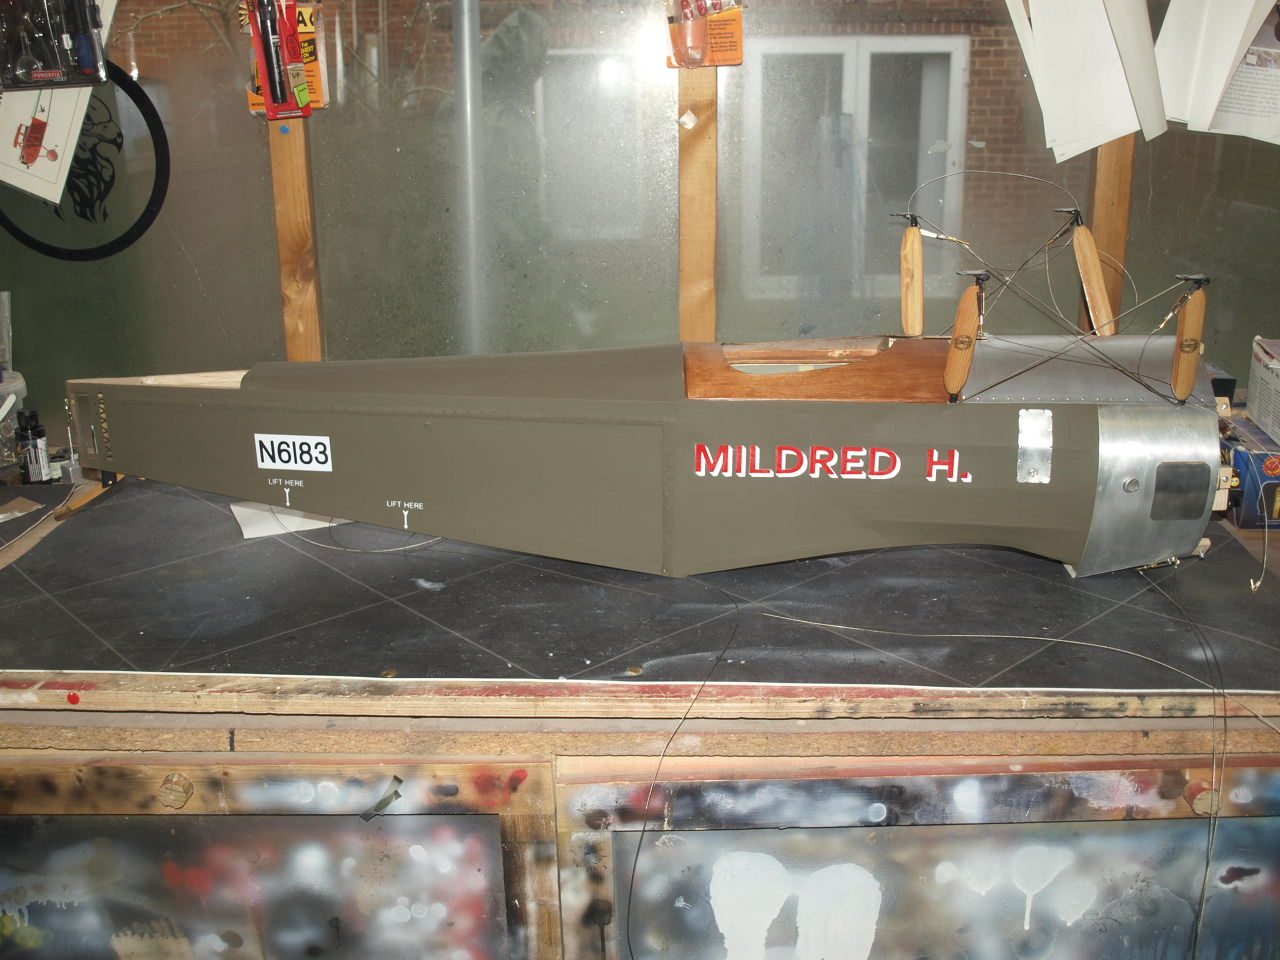
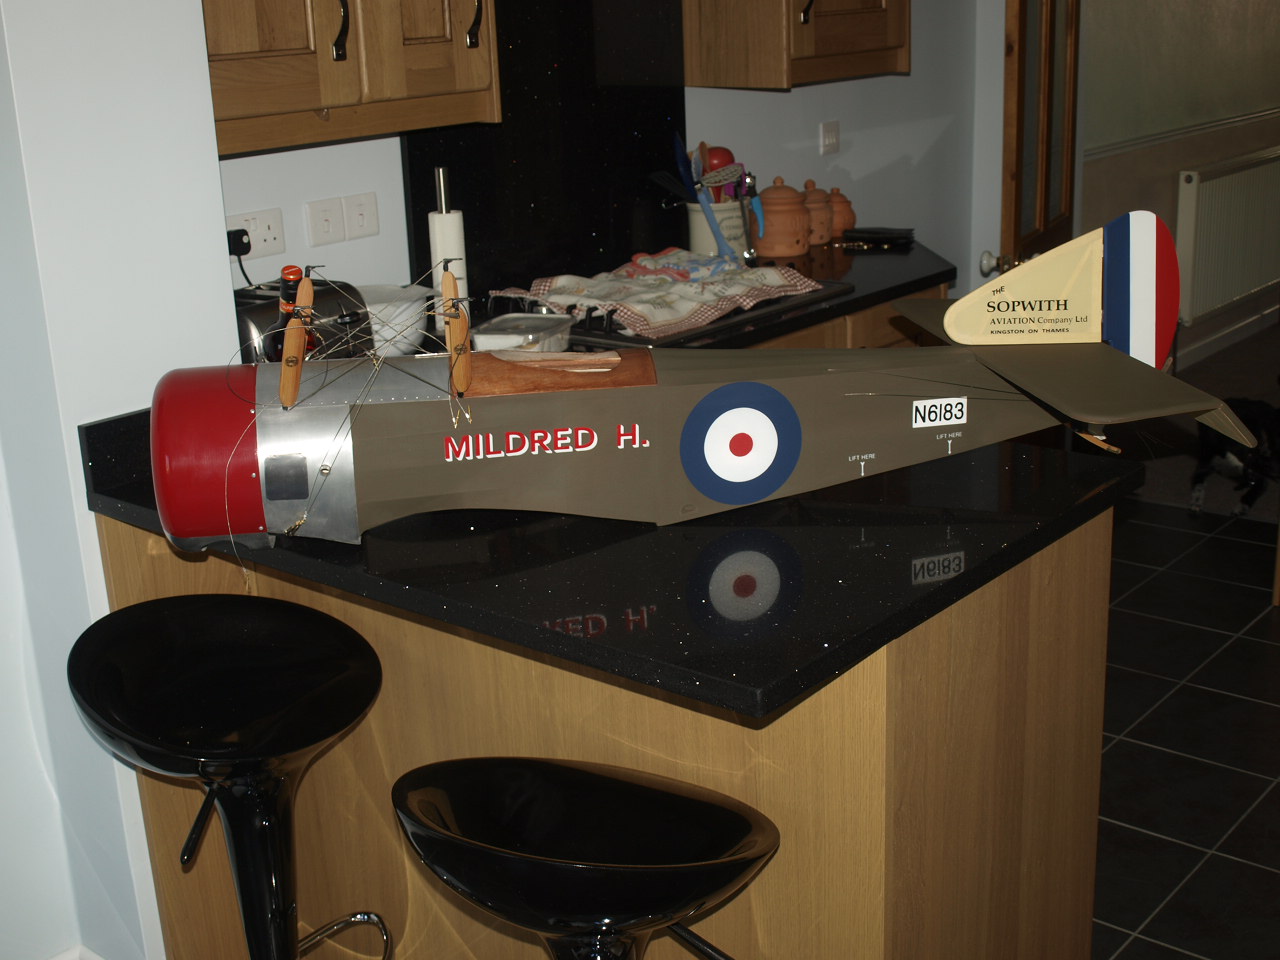
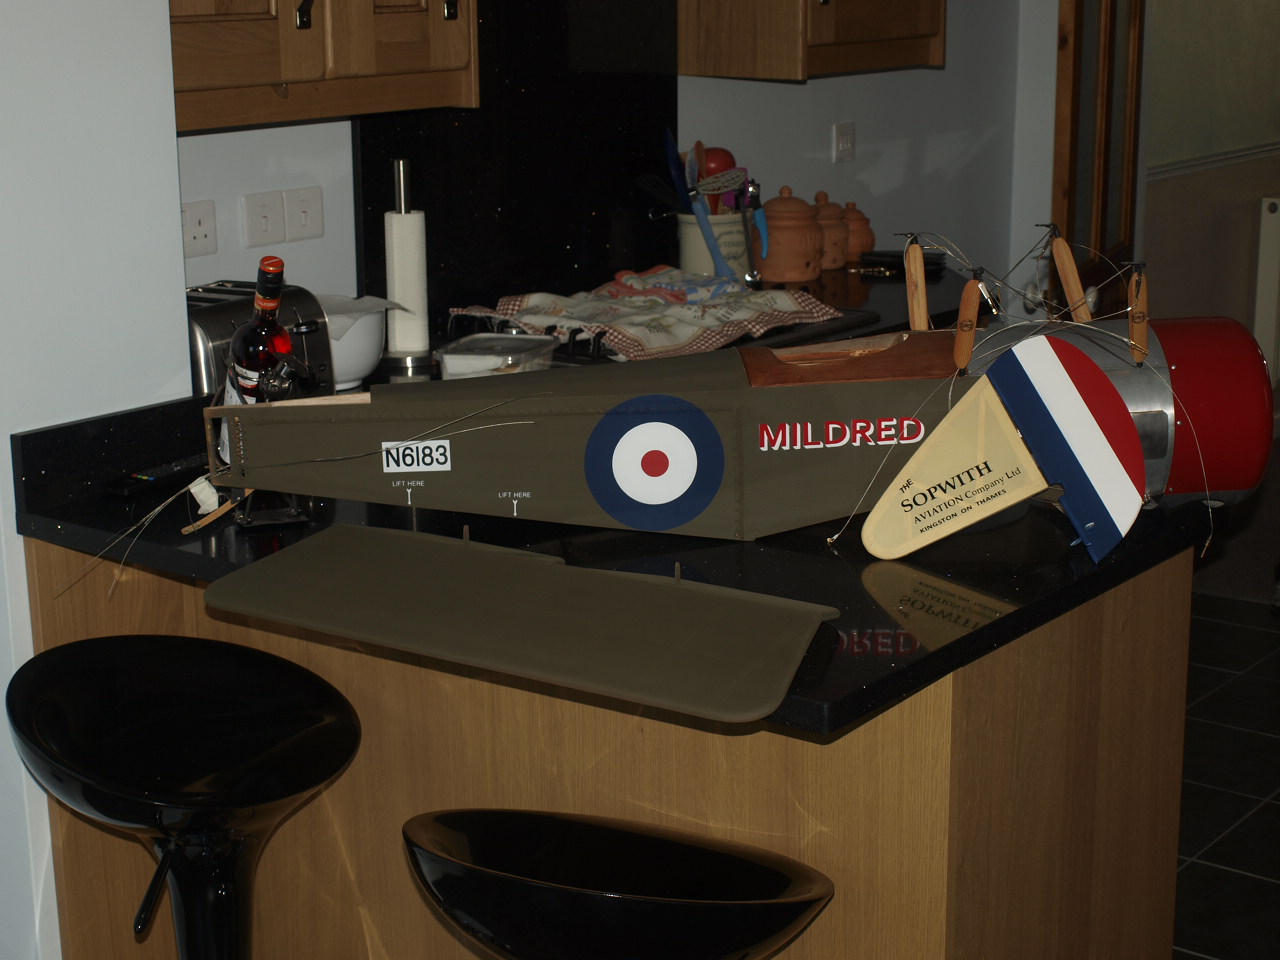
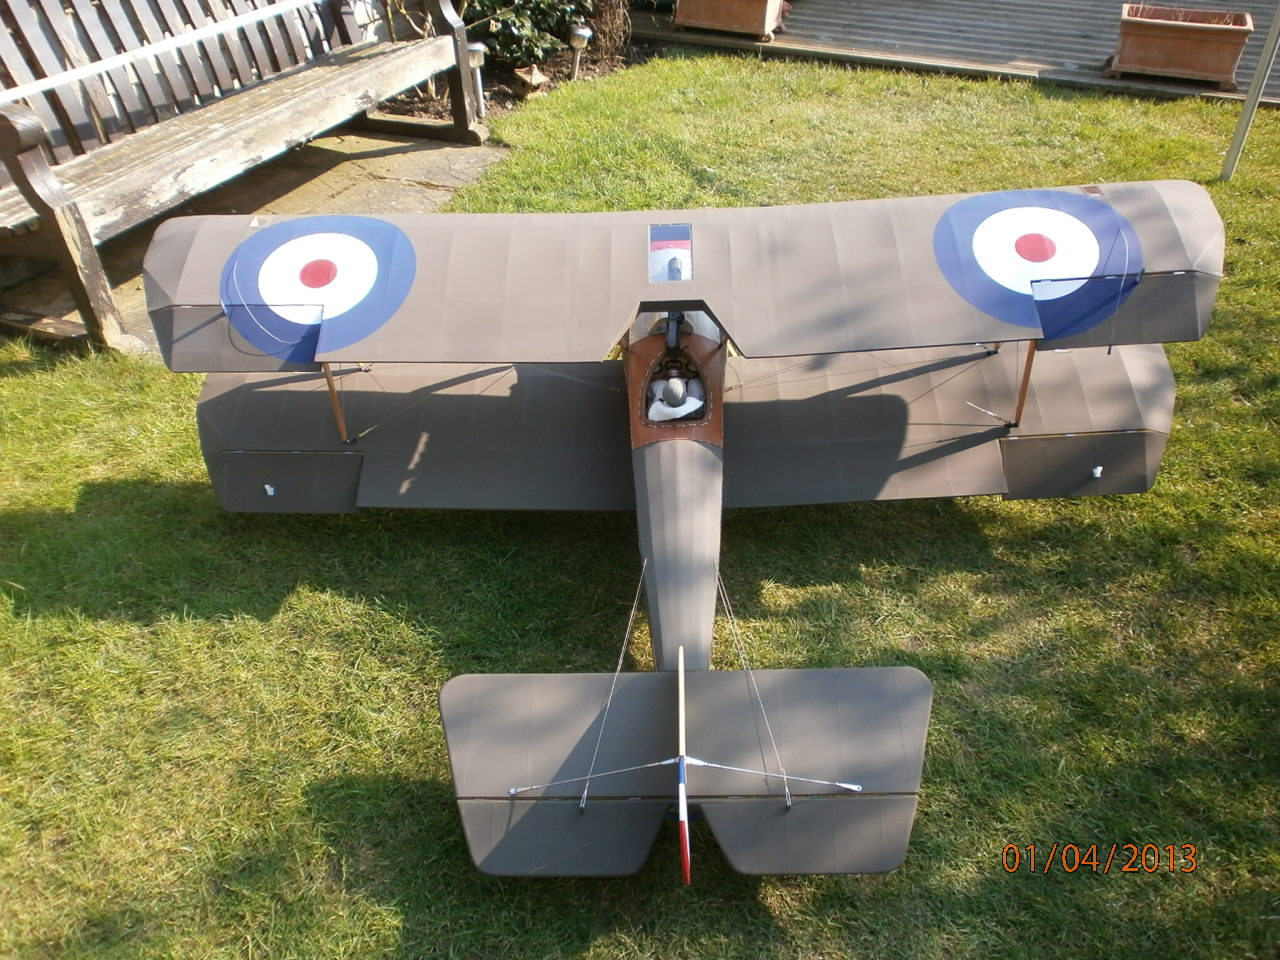
With all the major spraying completed its time to see what she looks like all together.
 |
 |
 |