TAIL ASSEMBLY
The following pictures below show how the rear of the fuselage is profiled.
Although the profiling has been completed,the pictures give you an idea of how the sanding process works.
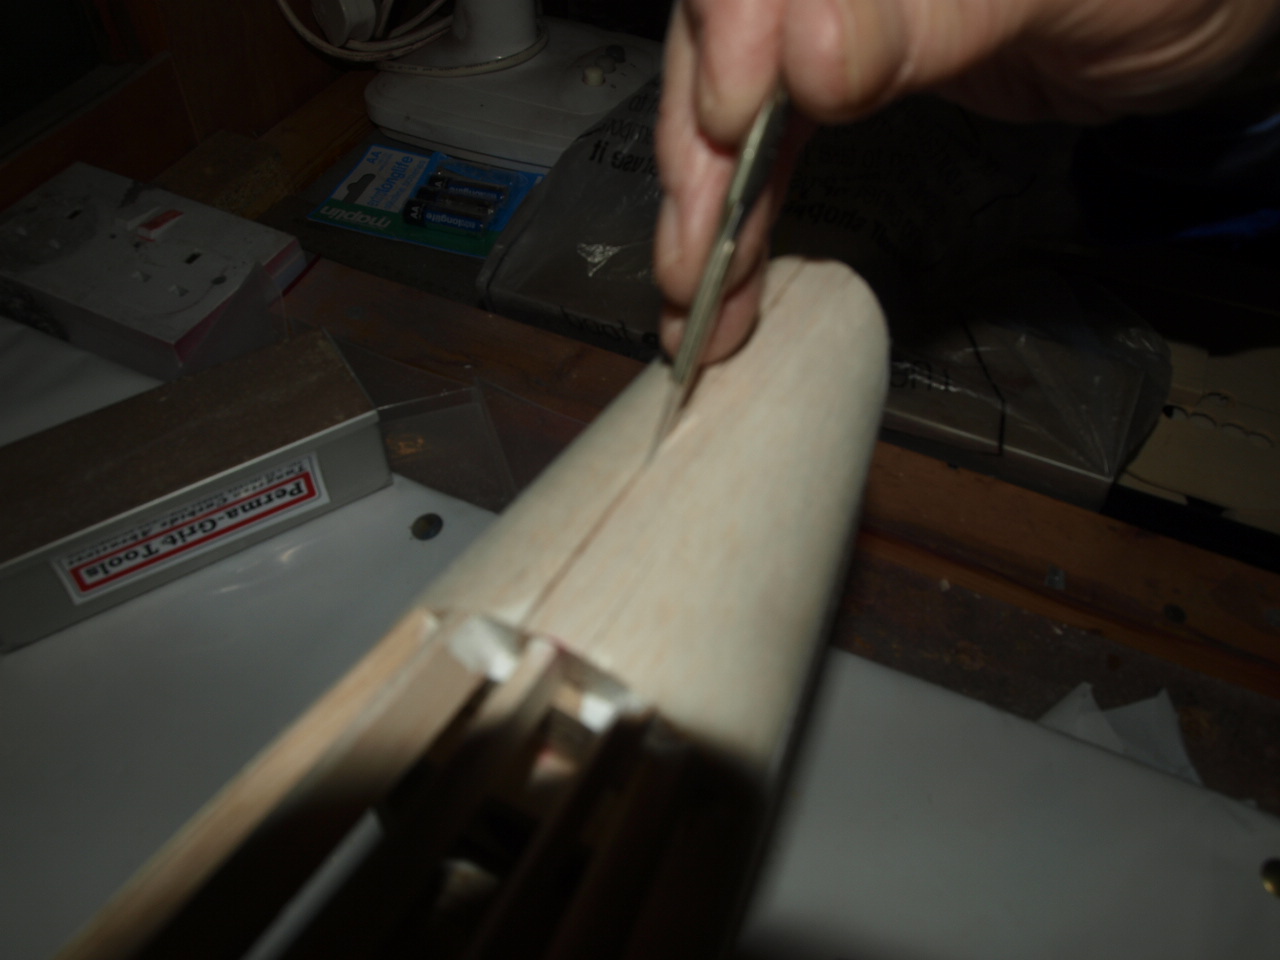
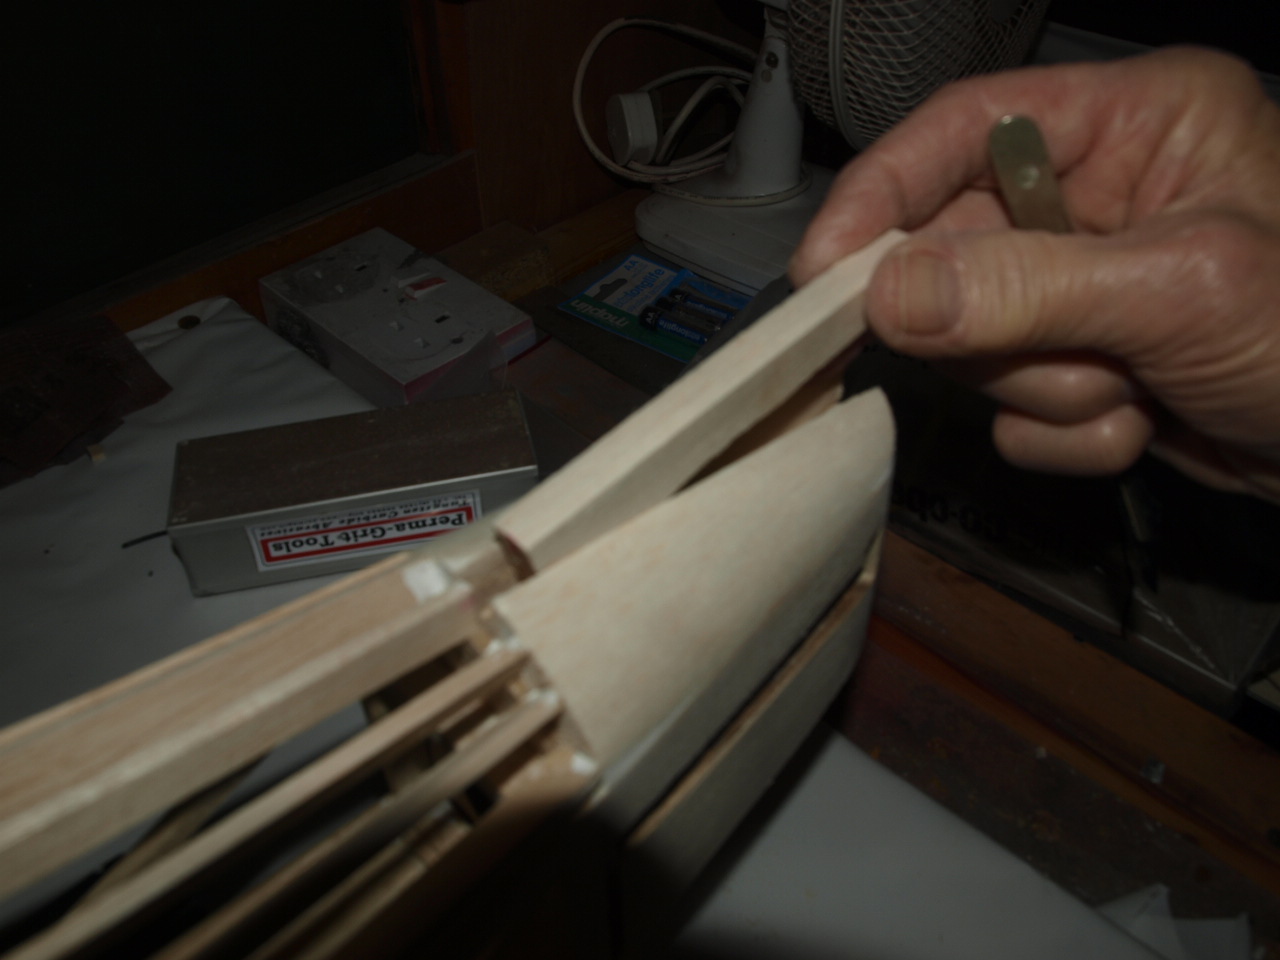
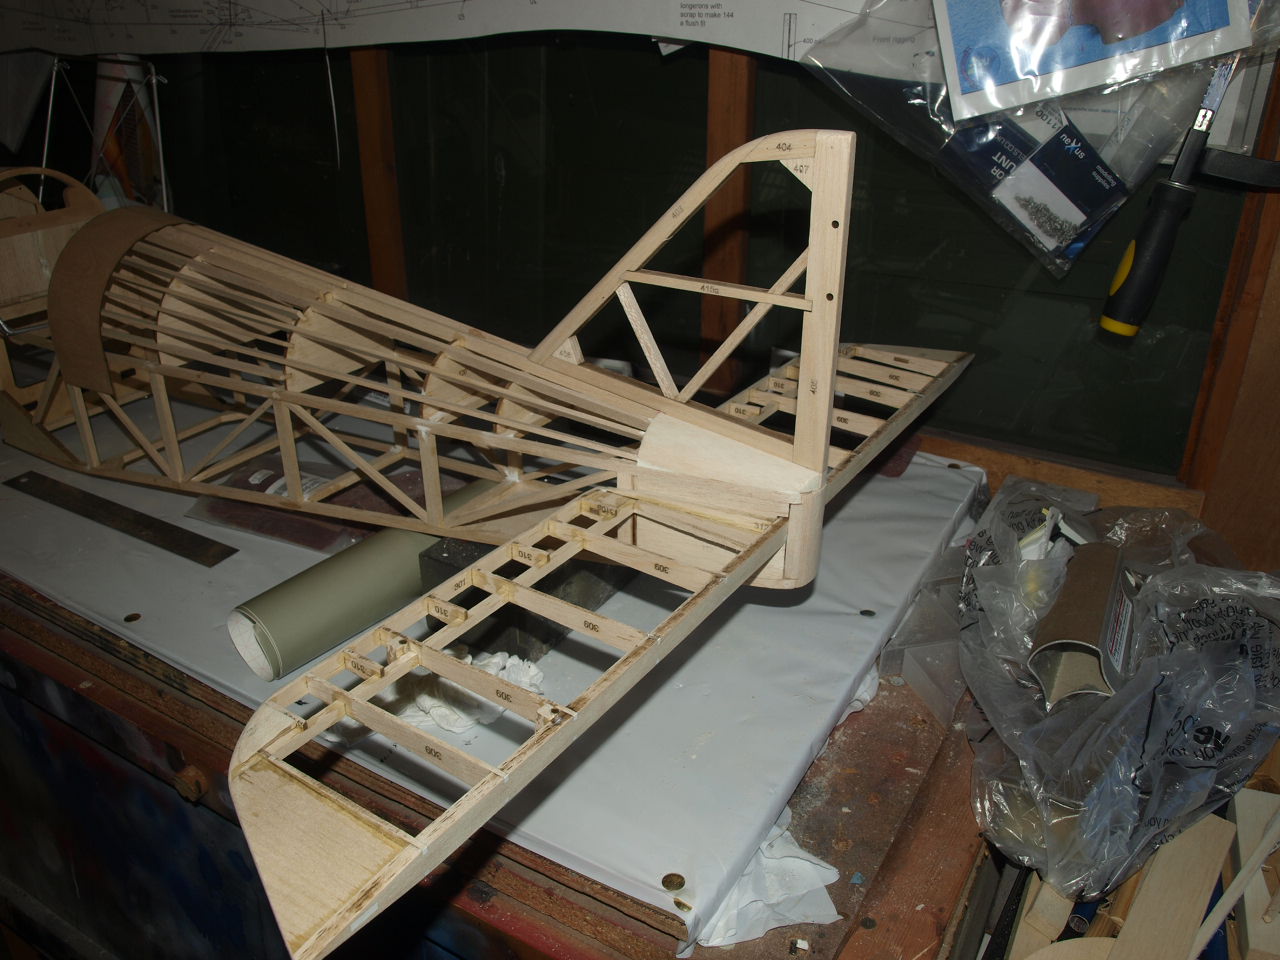
In the first picture you can see that the balsa blocks that sit either side of the fin are positioned on the fuselage, along with a piece of scrap balsa the same thickness as the fin sandwiched between the two ( see picture 2). This piece is only tack glued into place as we will need to be able to remove it once everything has been sanded to profile.
|
|
|
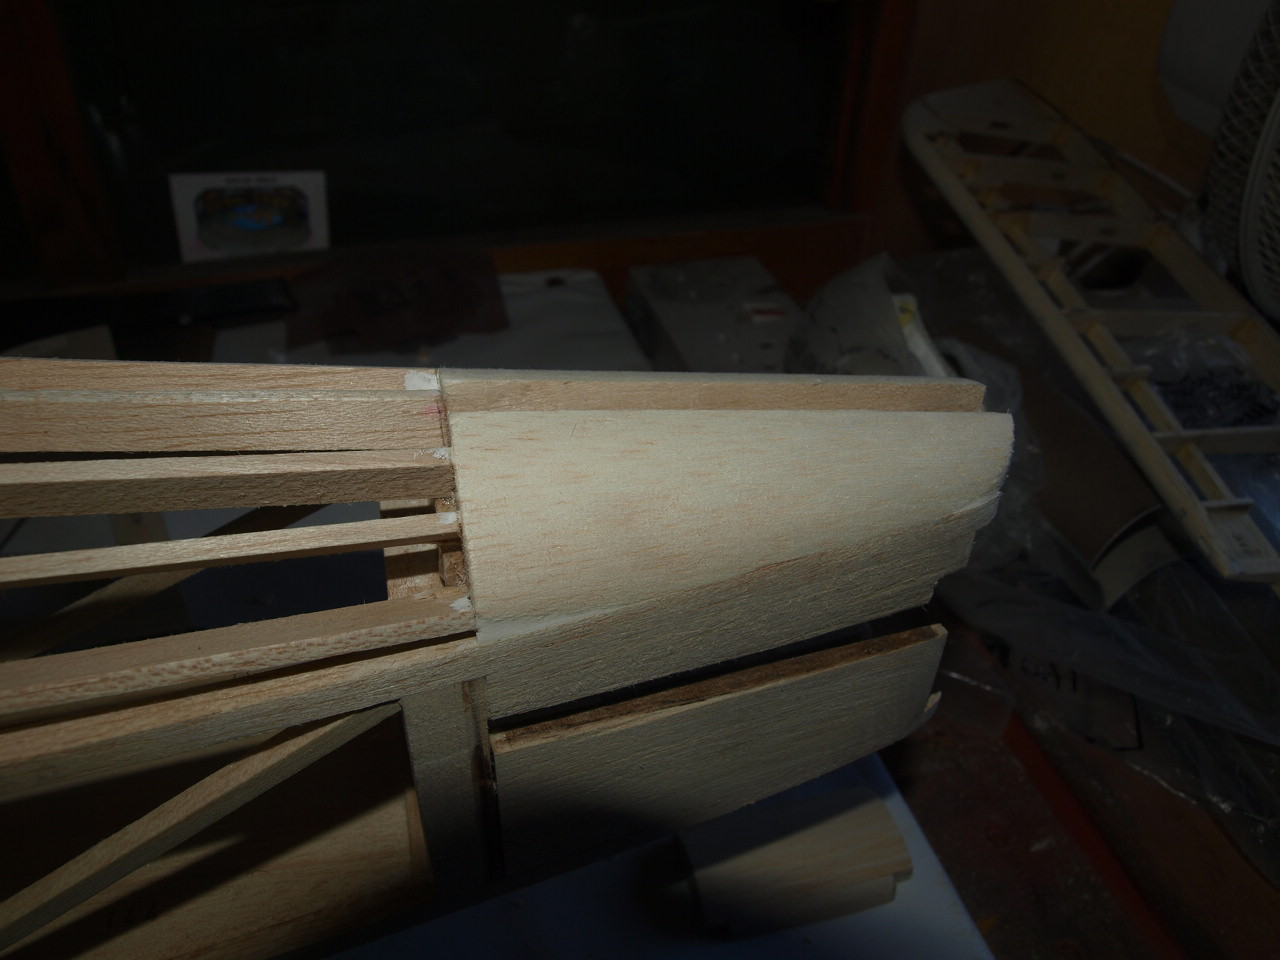
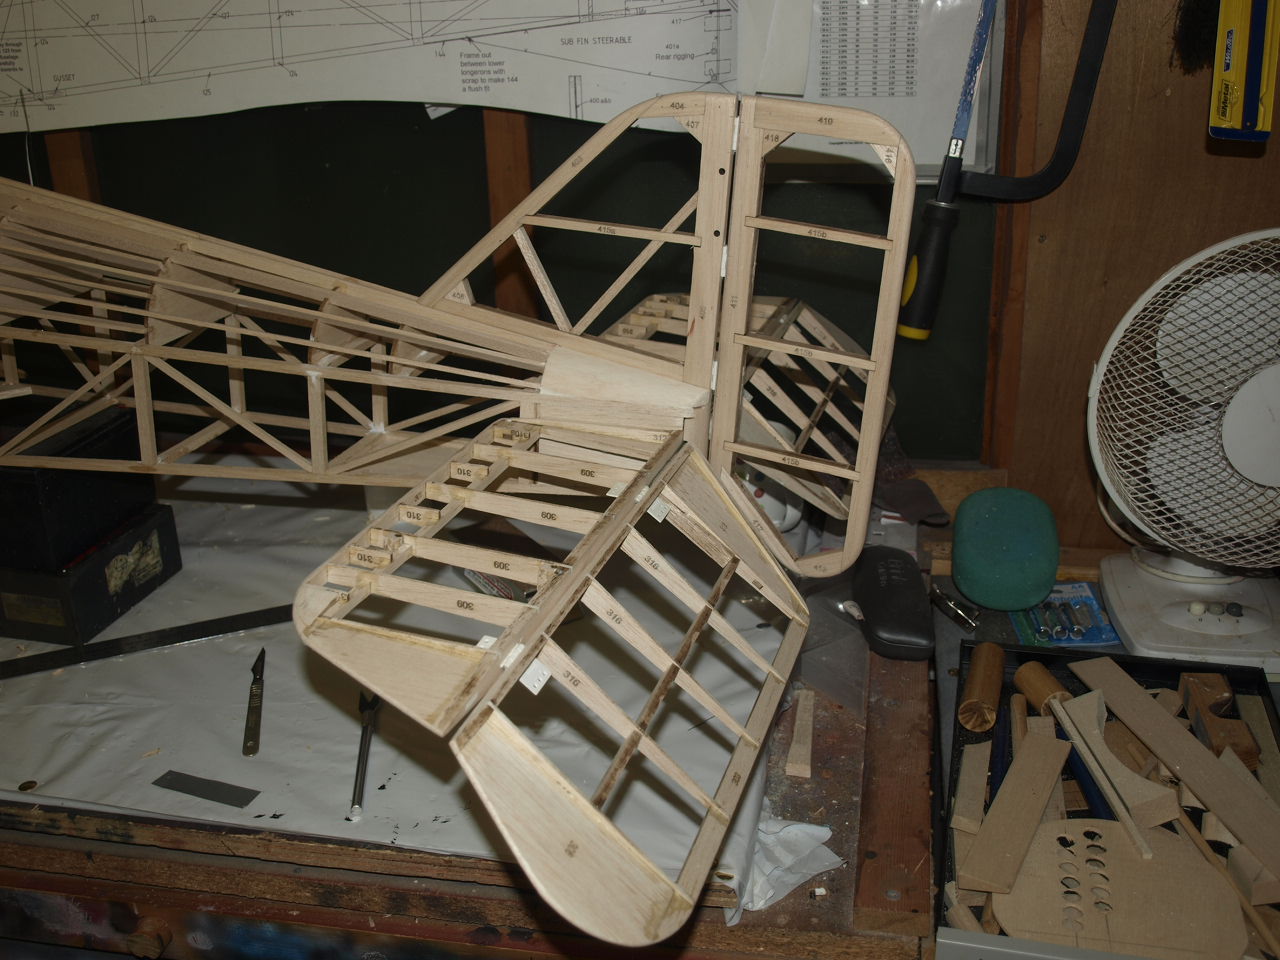
Once the required profile has been achieved through sanding, the scrap block is removed (see pic 1 ) with the use of a scalpel leaving a perfect formed rear fuselage ready to receive the fin as can be seen in pictures 3 and 4.
 |
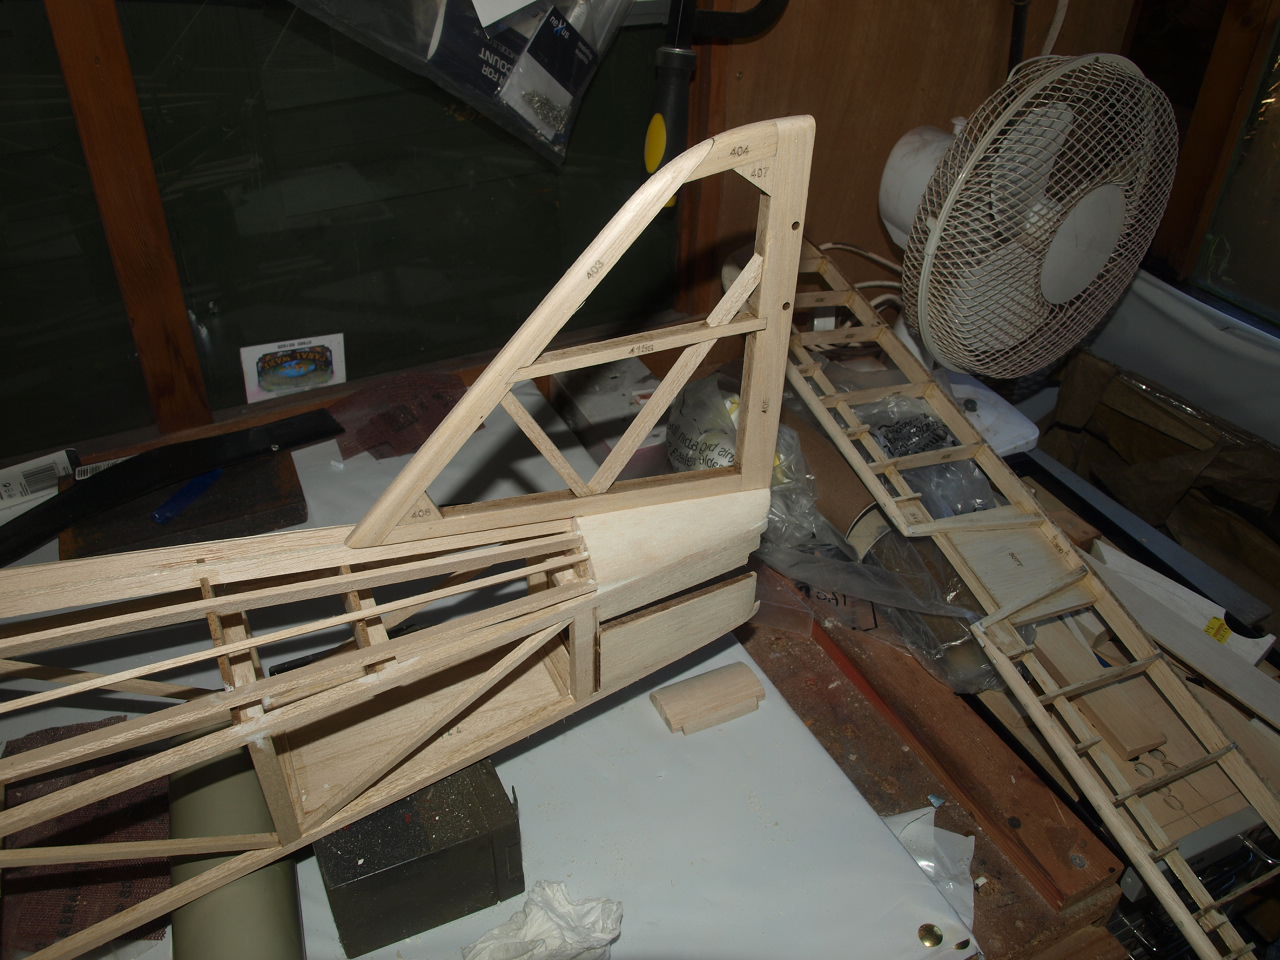 |
This next picture shows the final tail assembly all in situ. Note the end fuselage block is now in place, having been profiled using the same method as described for the fin.
 |
With the above assembly nicely all dry fitted, we moved on to installing the hinges for both the elevators and the rudder. We usually use a Robart Hinge aligning and cutting tool for this operation but unfortunately on this occasion the alignment gig did not fit the size of the trailing edge of the elevator, so all the hinge location had to be measured out and cut using traditional methods.
Picture below showing rudder and elevator dry fitted to fin and stabiliser.
 |
Stabiliser Elevator Build
Fuselage page
Fin & Rudder Build
Wing Build Bottom
Wing Retaining
System
SE5A Full size detail gallery
Landing gear
SE5A Cowl